Frame Installation
Installing the frame on the bike
For complete instructions on mounting see the frame manufacturer's manual.
The frame attaches to the rear frame of the bike, aligning bottom sections as seen below.
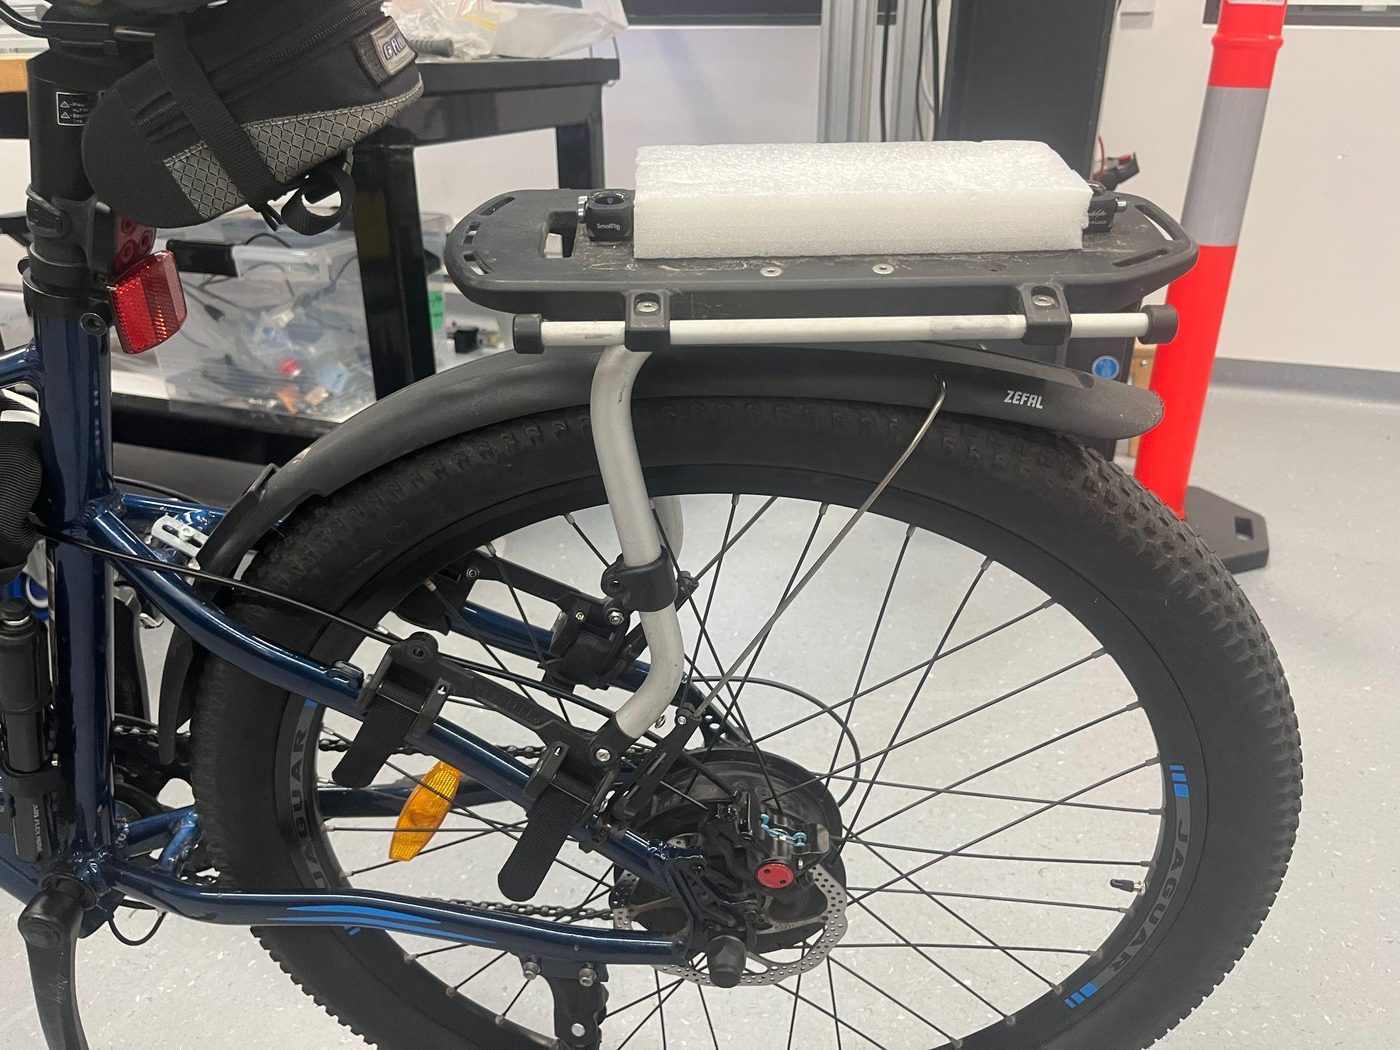
Thread the straps around the frame and thread back through the slot of the mechanism.
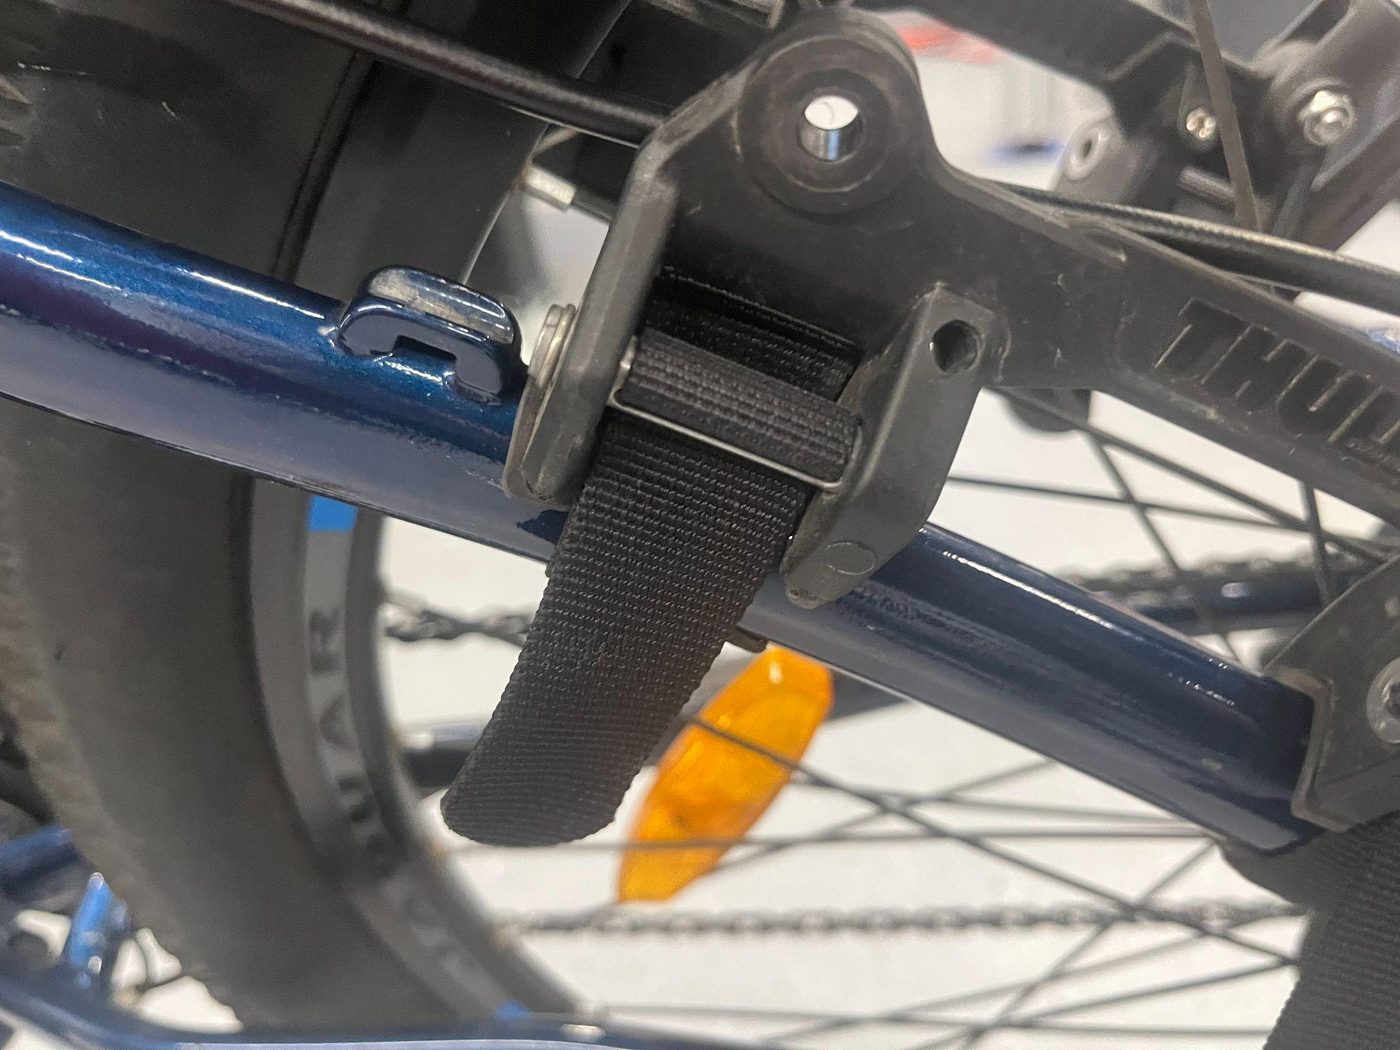
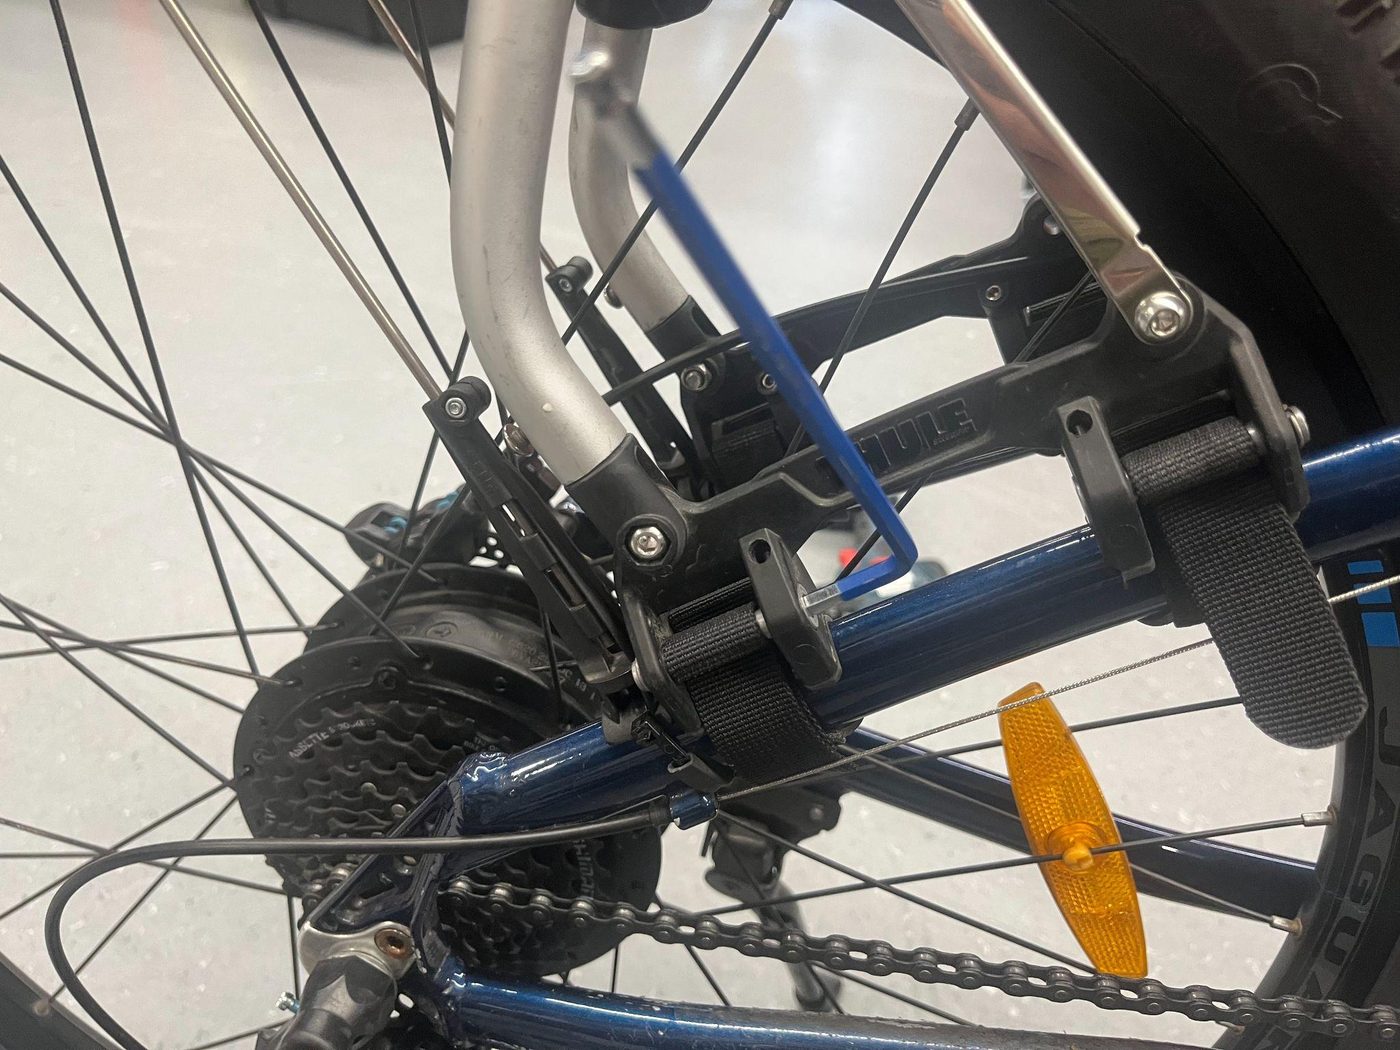
Once threaded through use an appropriate allen key to tighten each mechanism. It will click a few times, continue tightening until secure.
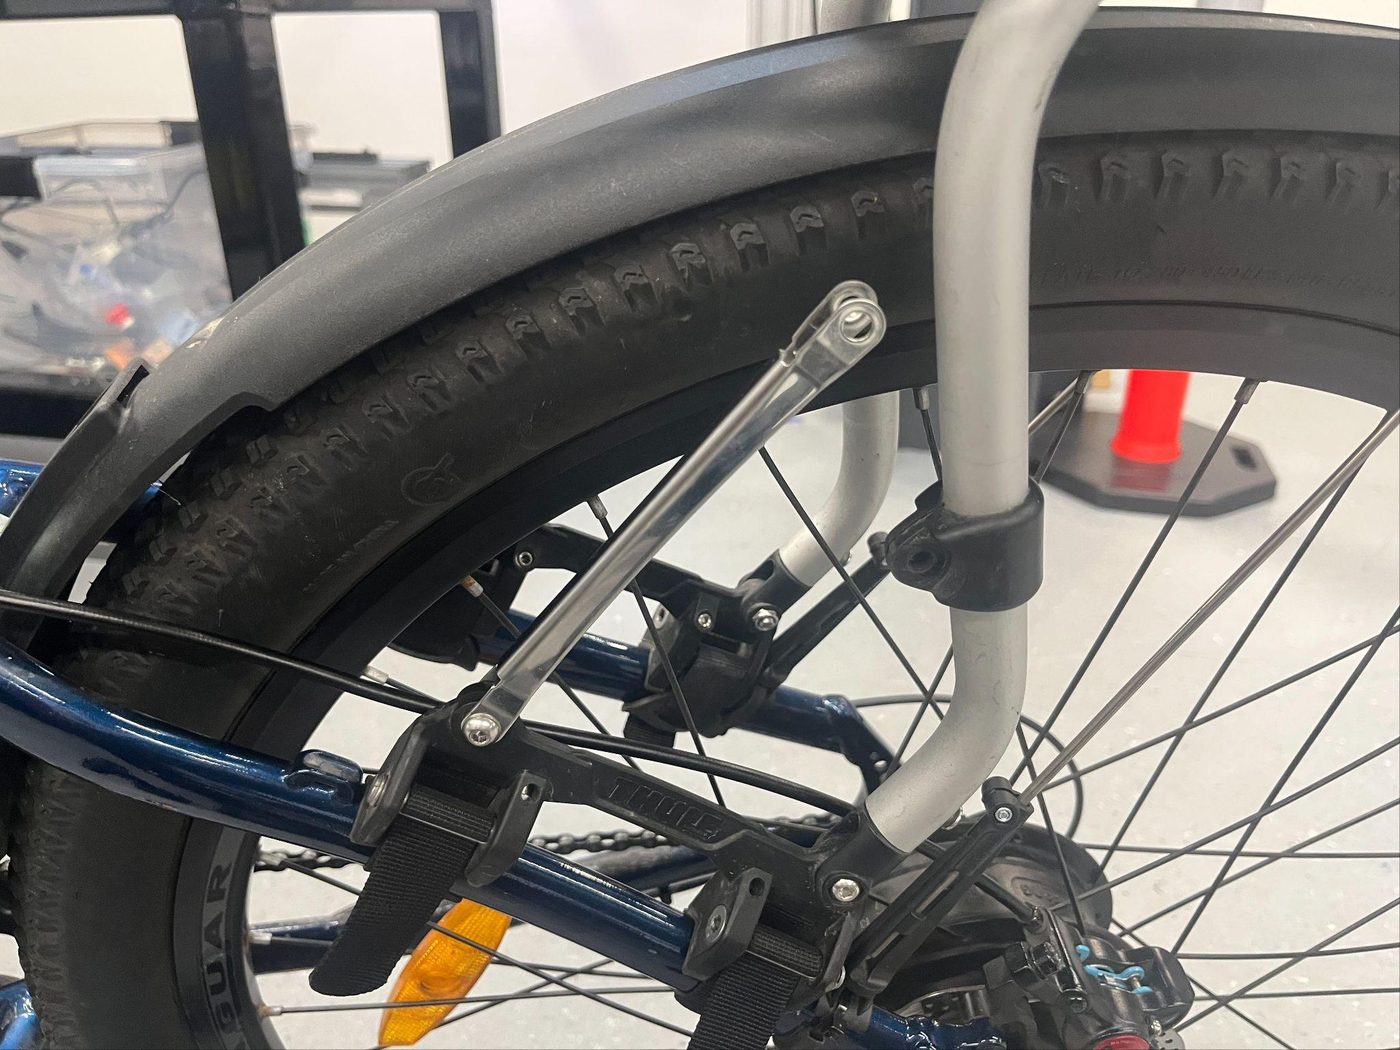
Once the frame is attached the metal supports need to be added, this adds rigidity and ensures the frame stays flat. Choose an appropriate length to fit the frame of the bike and attach at the bottom with the included screw.
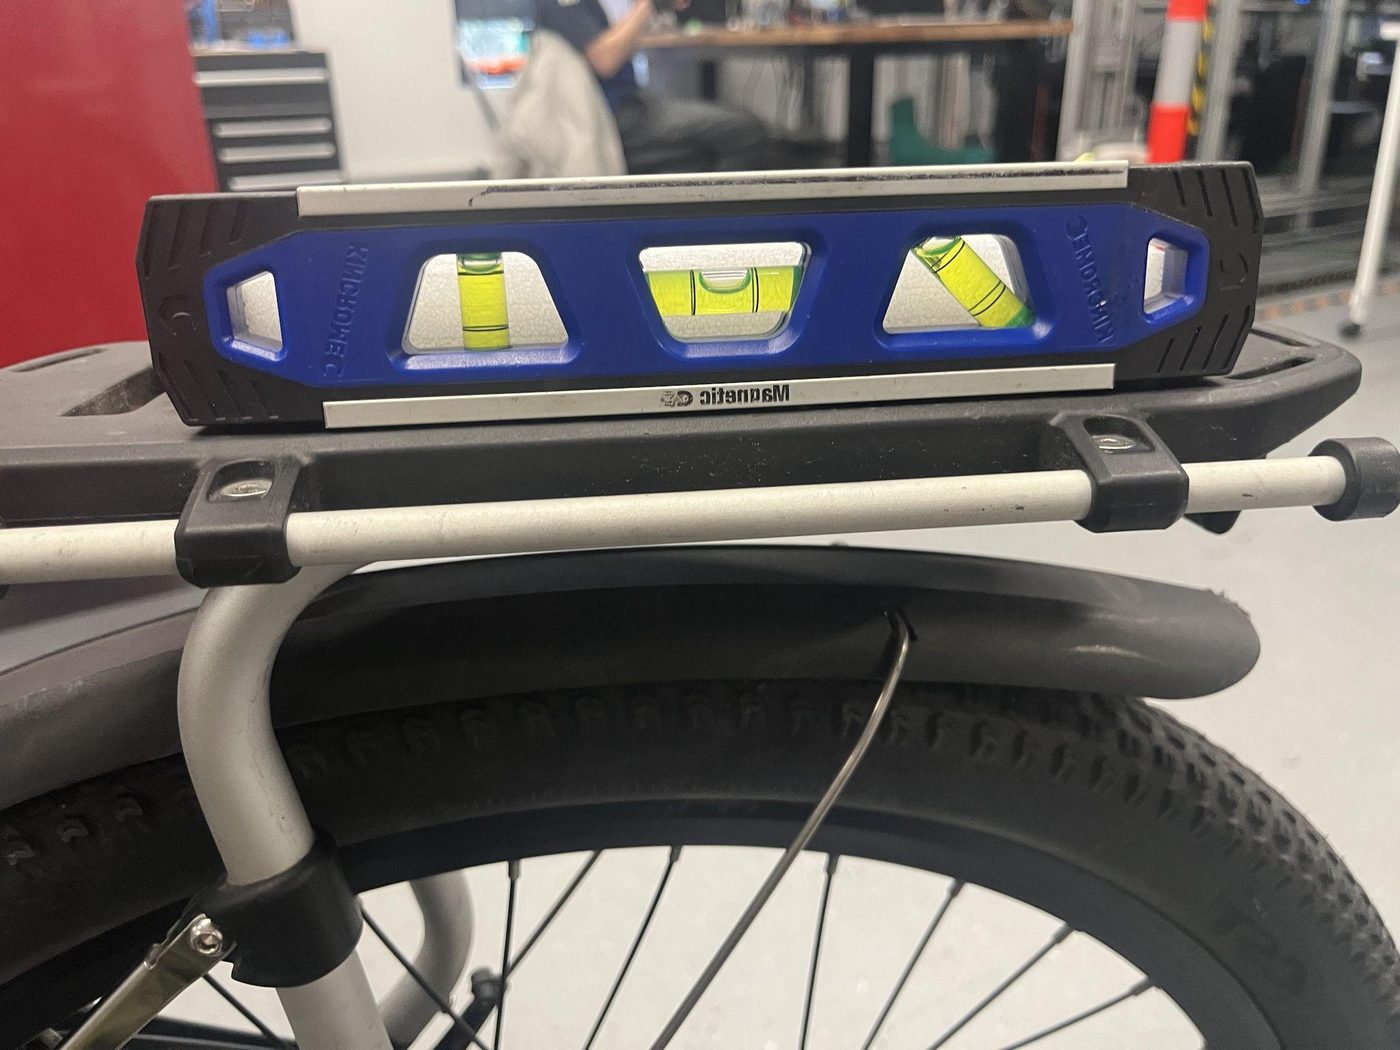
Attach the top of the metal support to the plastic bracket on the other part of the frame with the included screw. Do not tighten it onto the plastic part until it has been adjusted to the correct level.
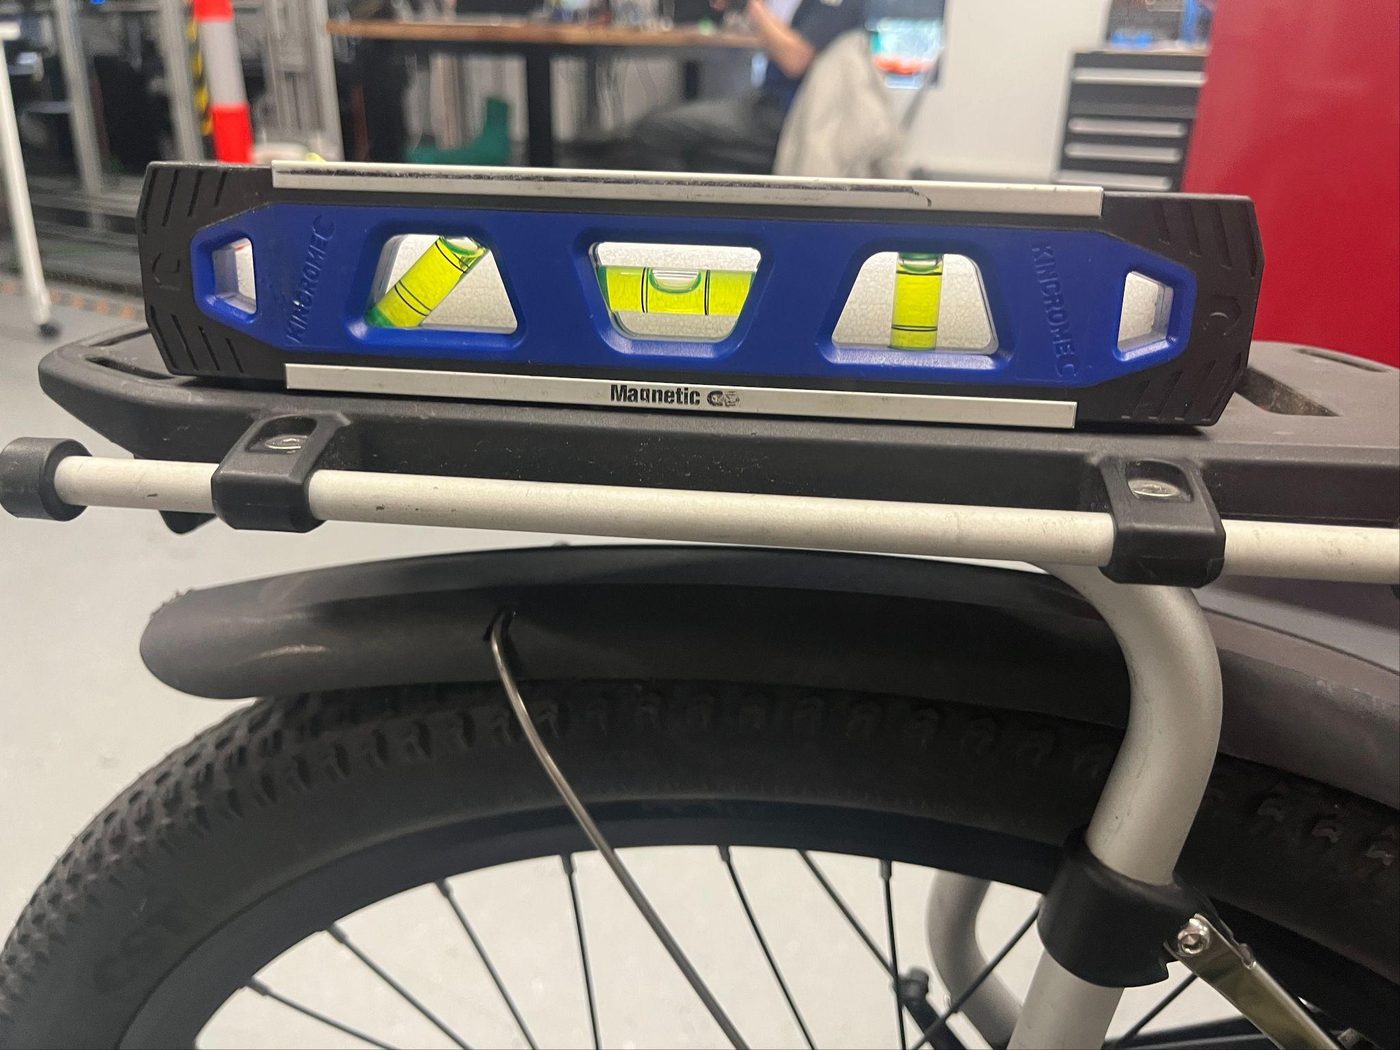
Ensure that the top of the frame is level — preferably using a spirit level, or just with your eye. Once this looks satisfactory, tighten the screw on the plastic bracket.
Detaching the frame
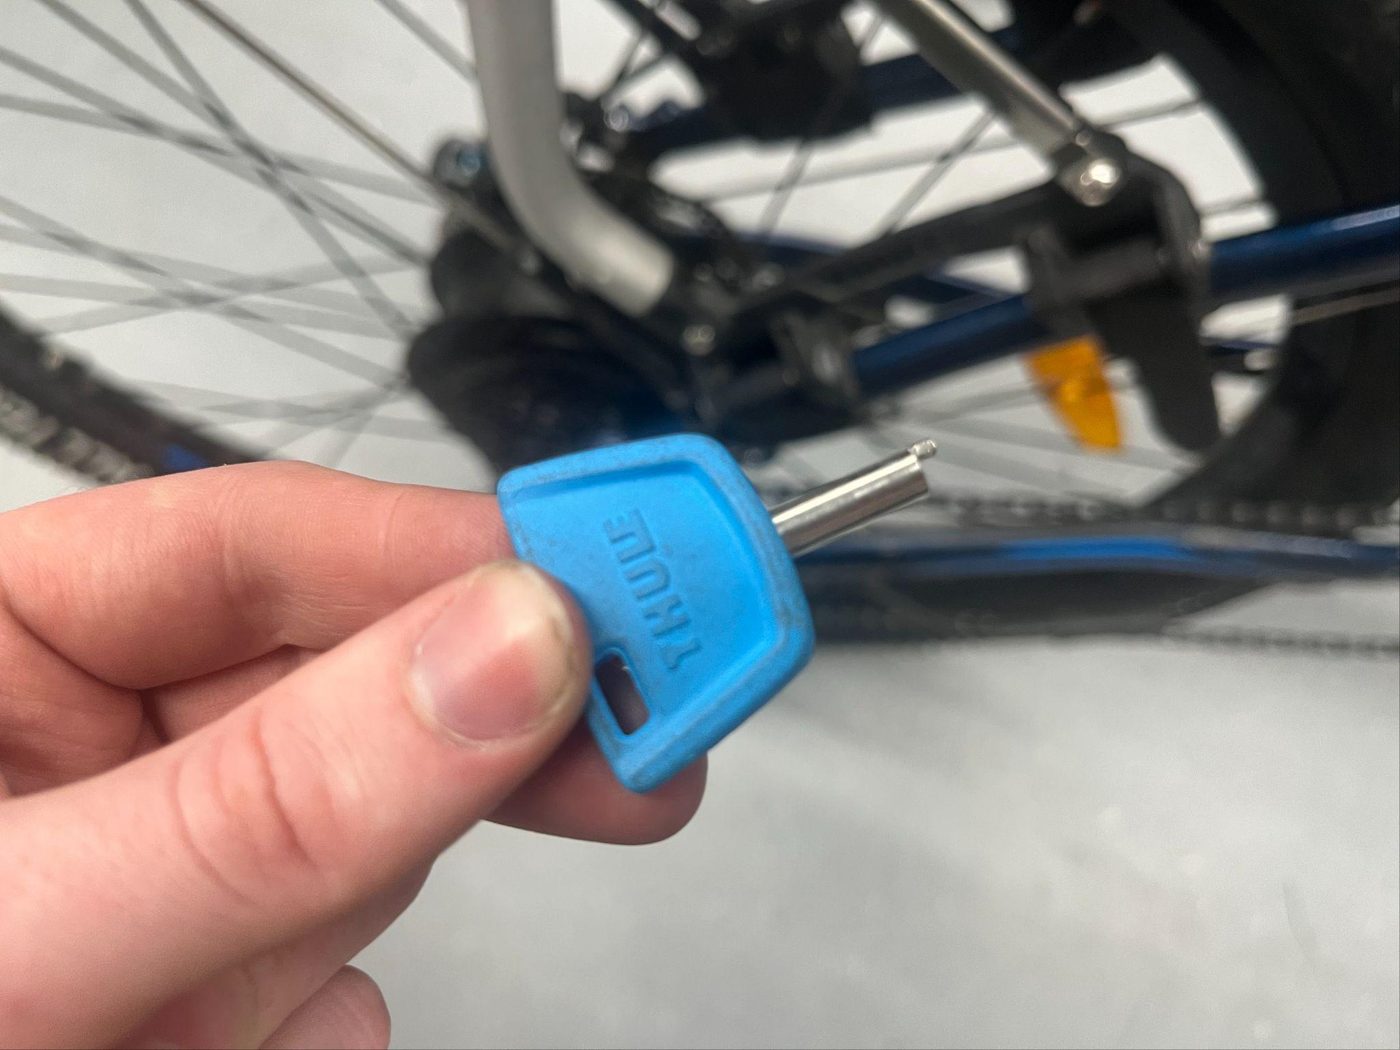
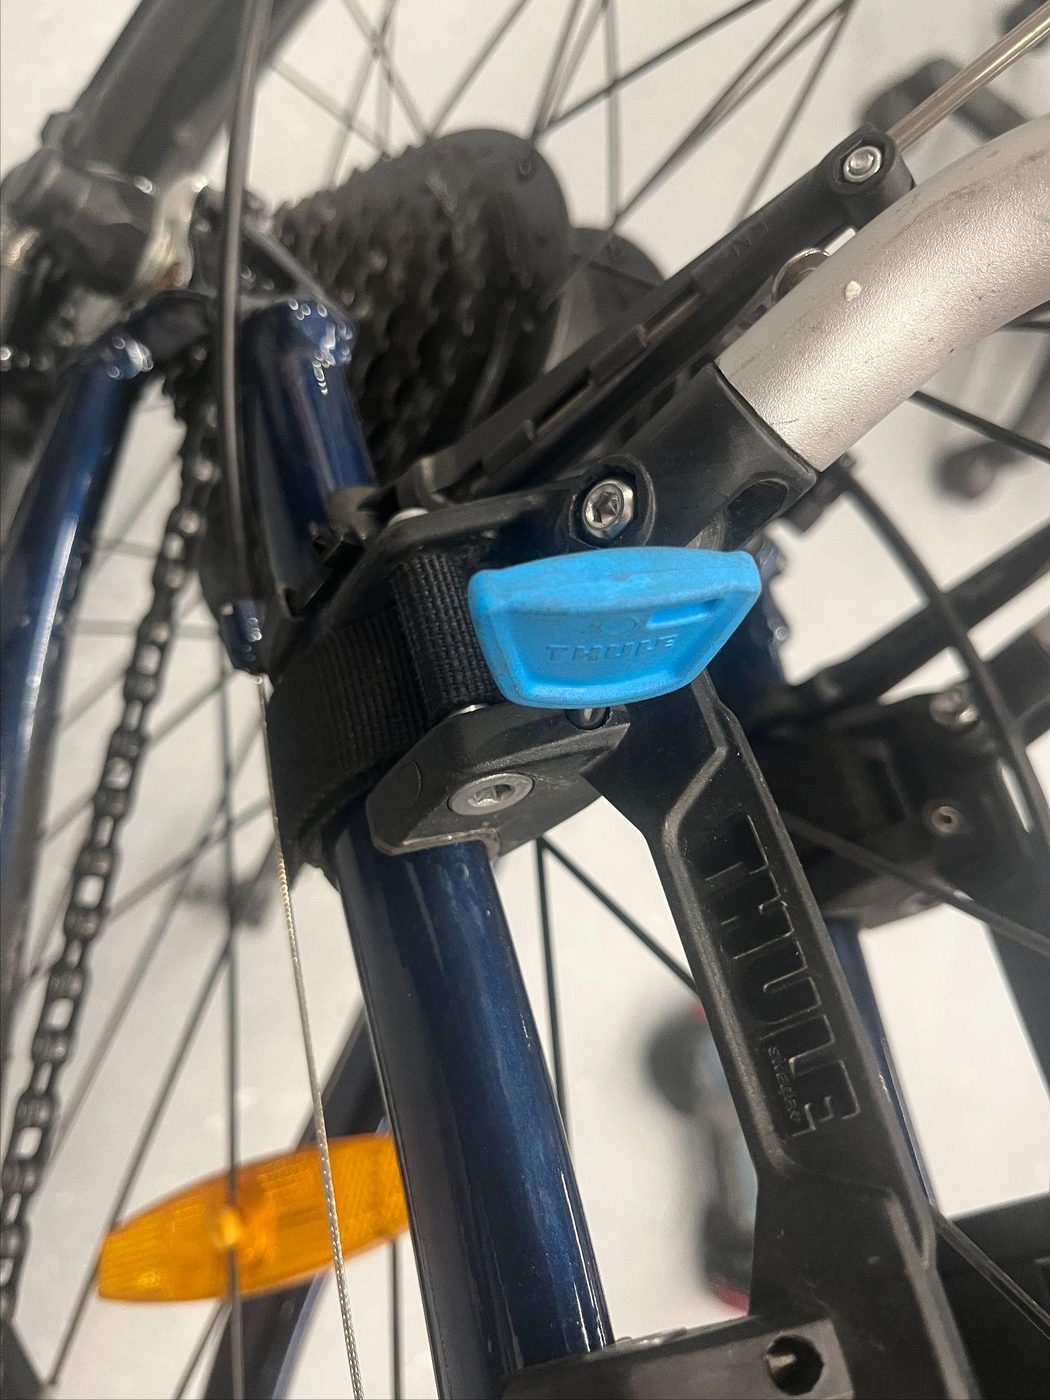
To detach the frame, take the blue key and insert it into the hole on the base of the frame near the strap.
Installing the mount onto the frame
This should only have to be done once and may require some reconfiguring/modification of the frame.
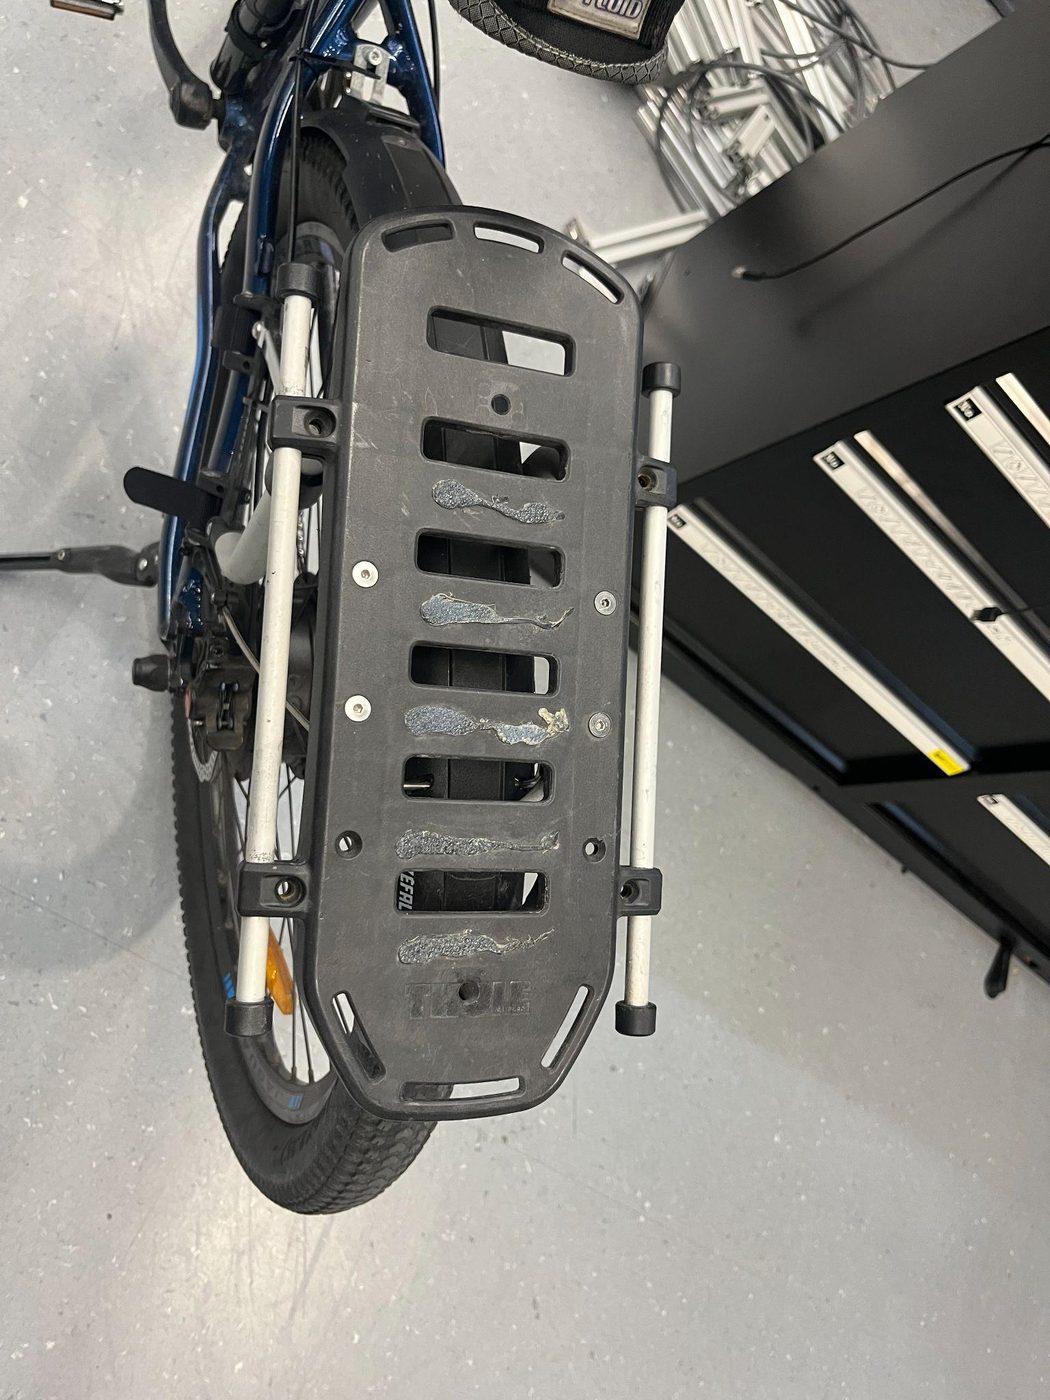
The mount is bolted to the frame using the 4 holes on the outside of the frame near the silver lengthwise rods.
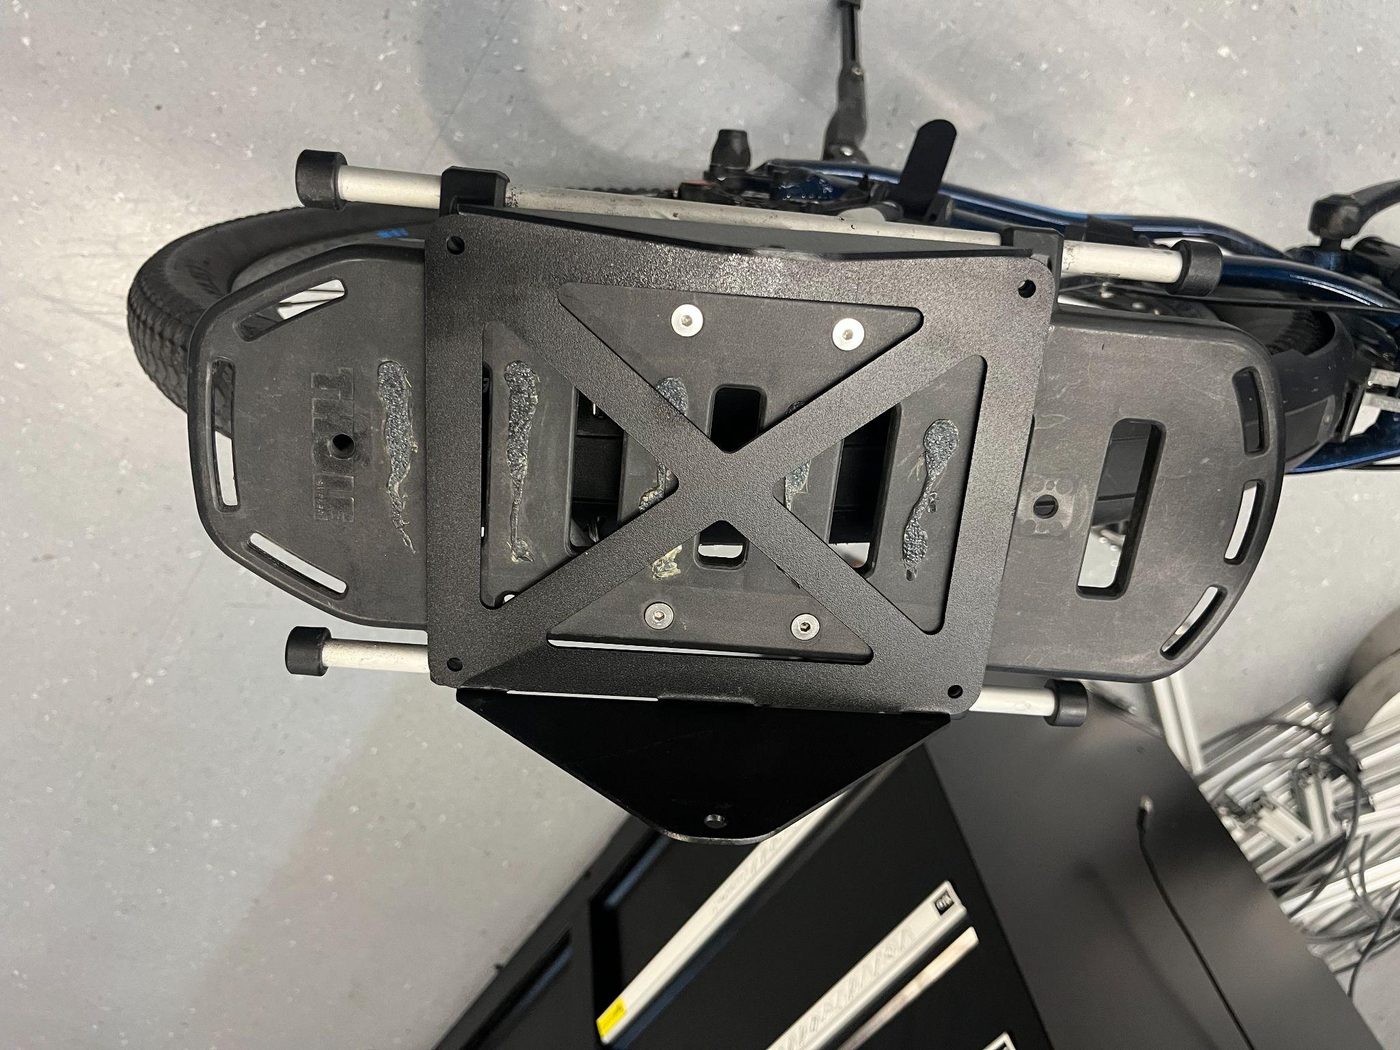
Place the mount onto the frame and ensure it is aligned with both the frame and the bike.
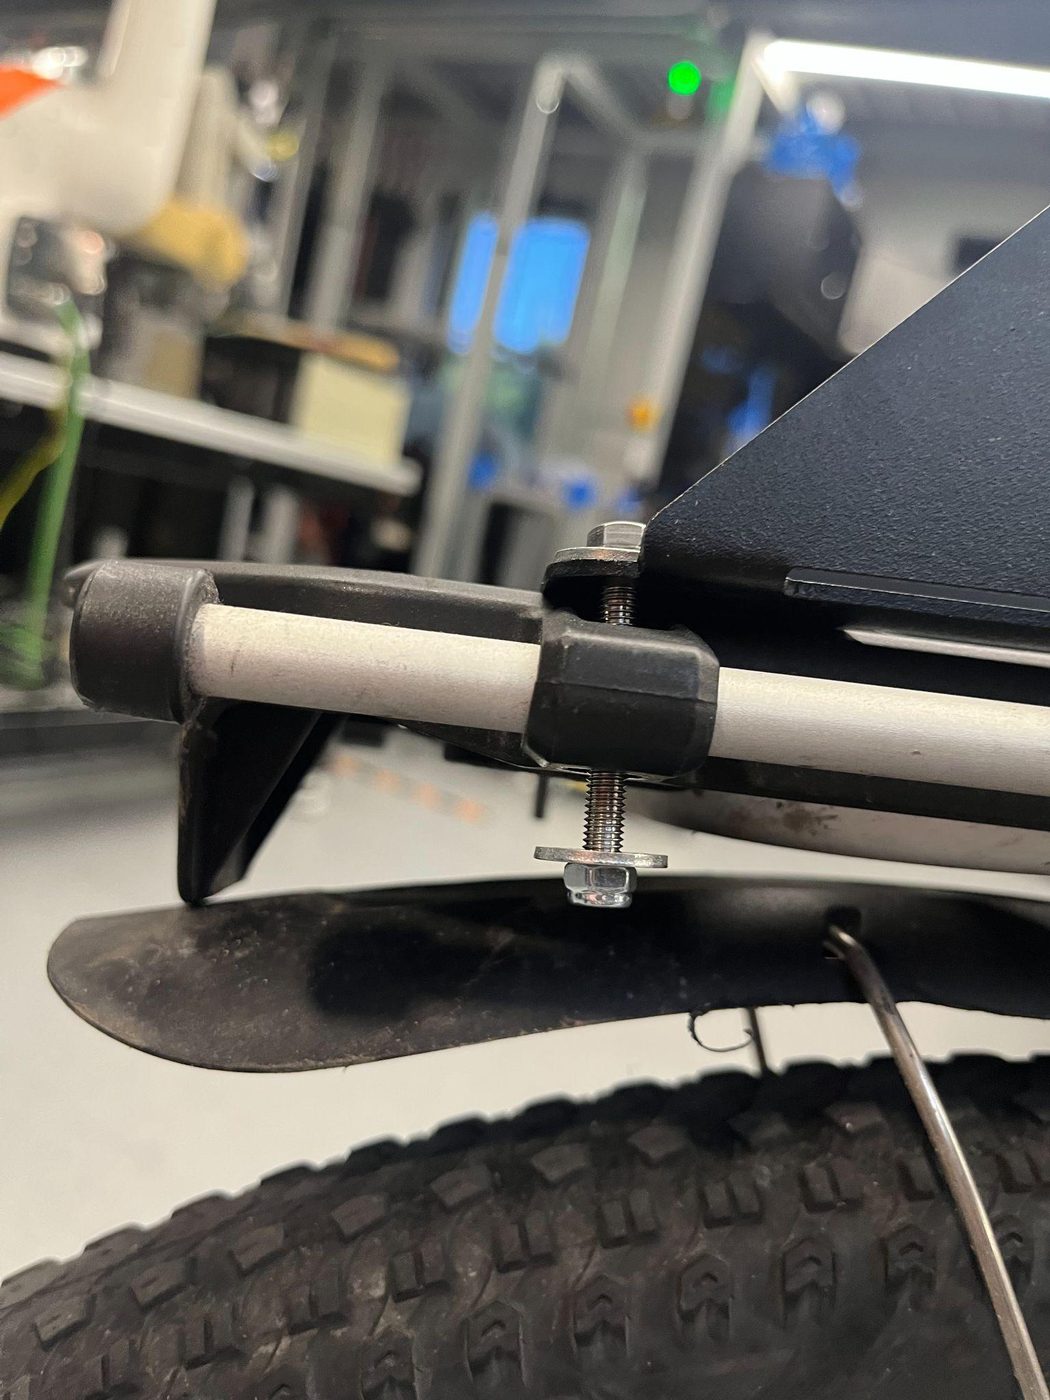
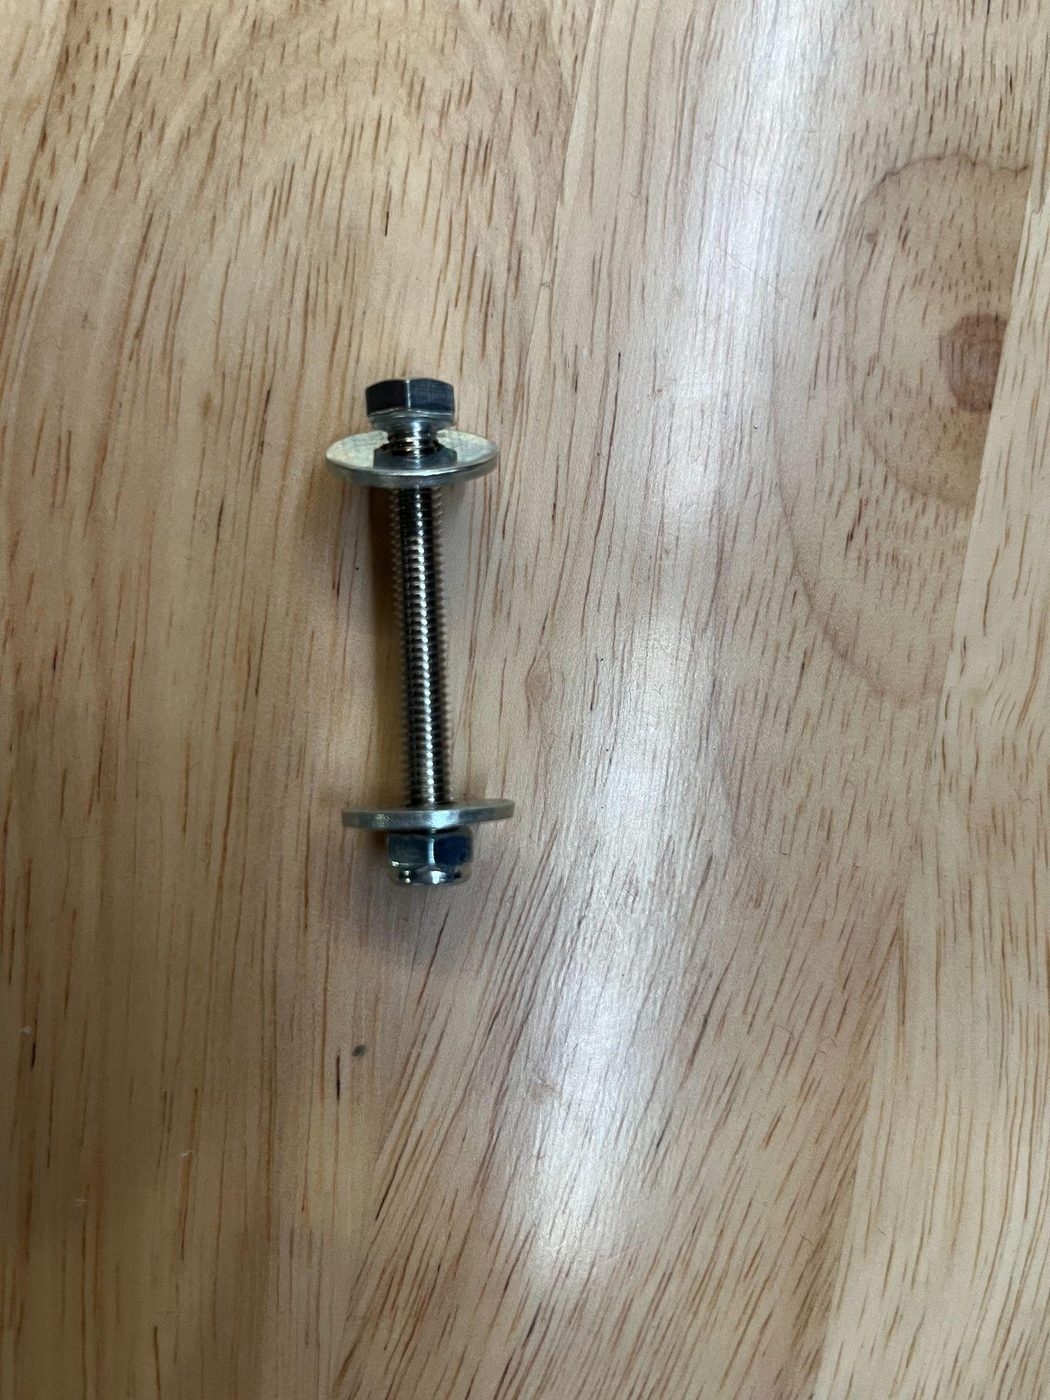
The mount is attached to the frame using 4× M5×40mm stainless steel bolts with 2 washers (one for each side) and a nylock nut.
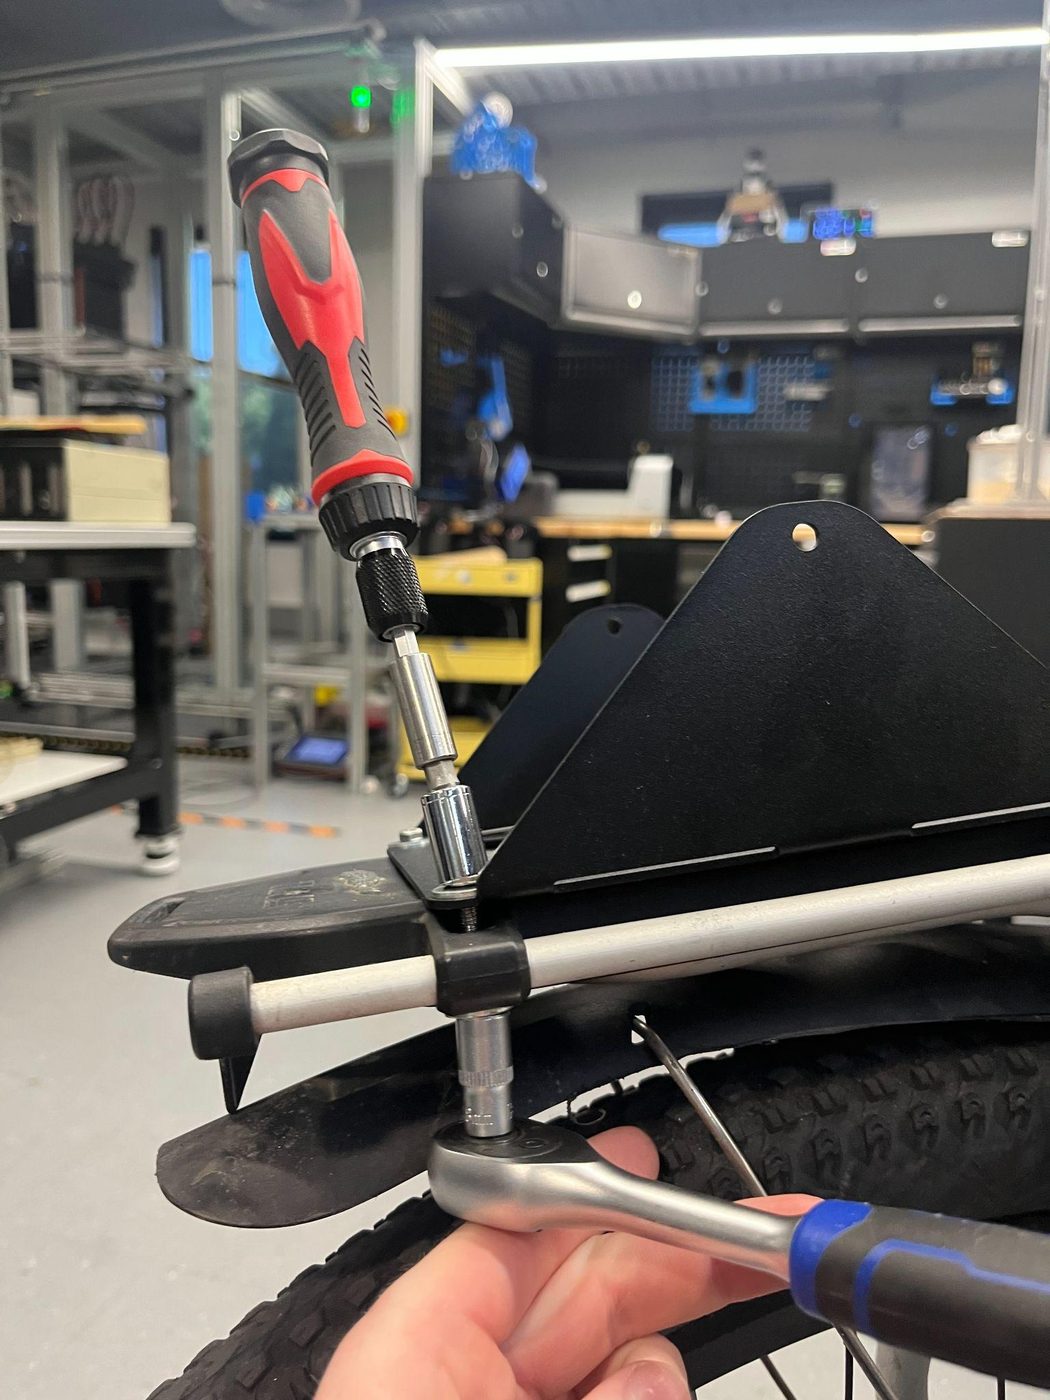
You will need two wrenches (or a spanner and a wrench), the bolt, and the nut. Be careful not to over tighten as this can bend the mount and prevent the mounting holes from lining up — which stops the thumbscrews from attaching.
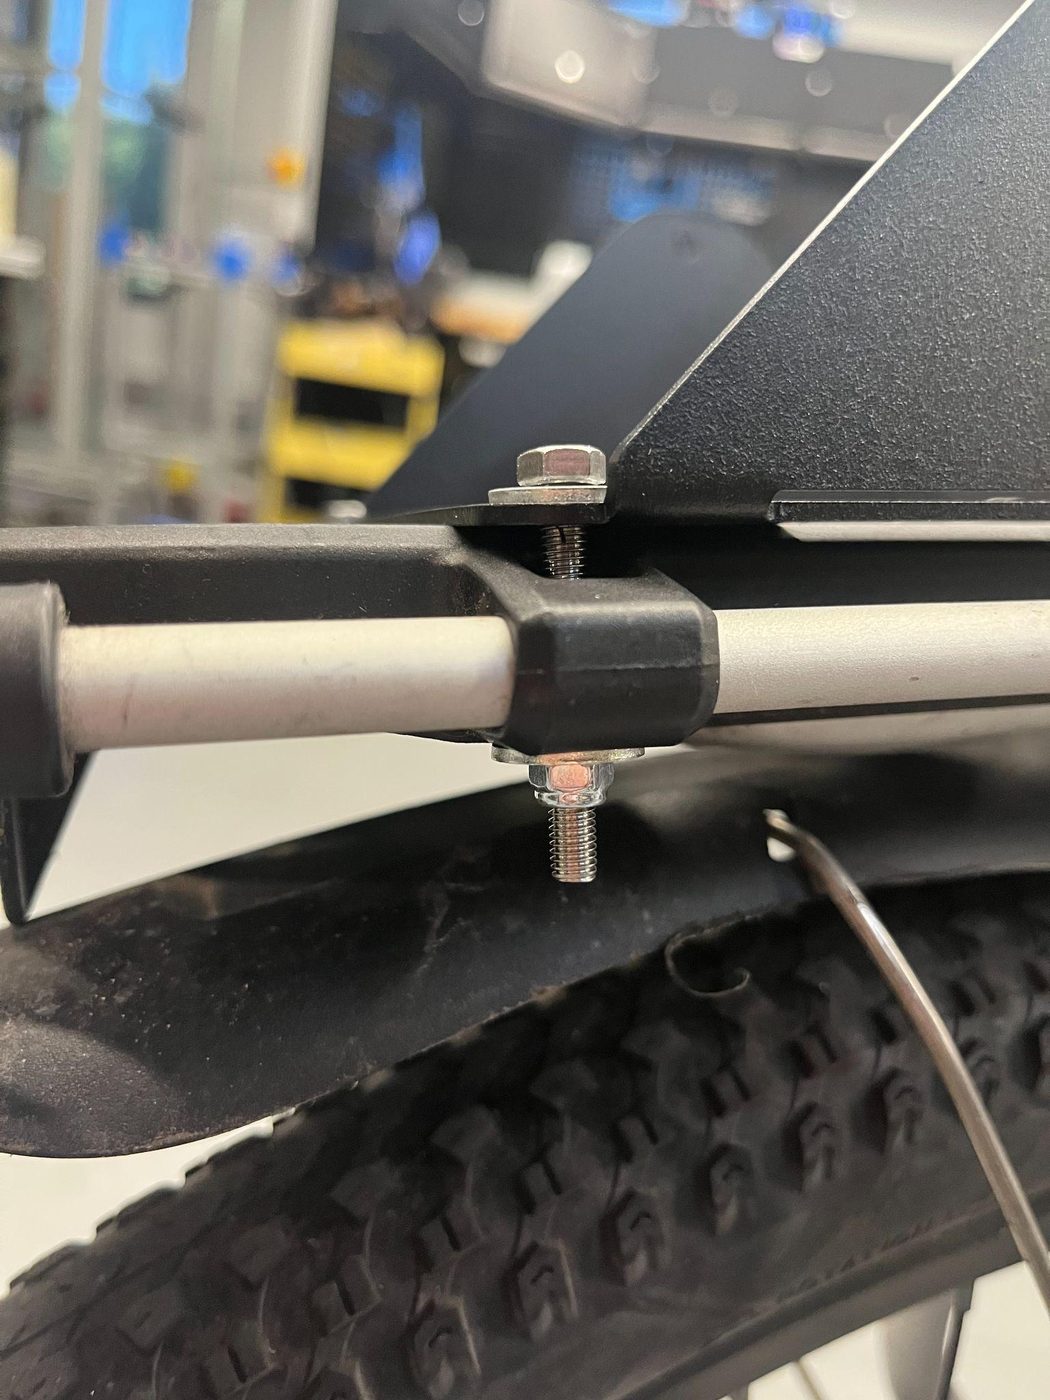
The mount should sit flat with no bend in the middle and no wiggle. If you can move the washers on top under the bolt head, then you need to slightly tighten it.
Mounting the box onto the mount
The box should not be left on the bike for long periods of time or unattended — please remove the box from the bike when it is not in use.
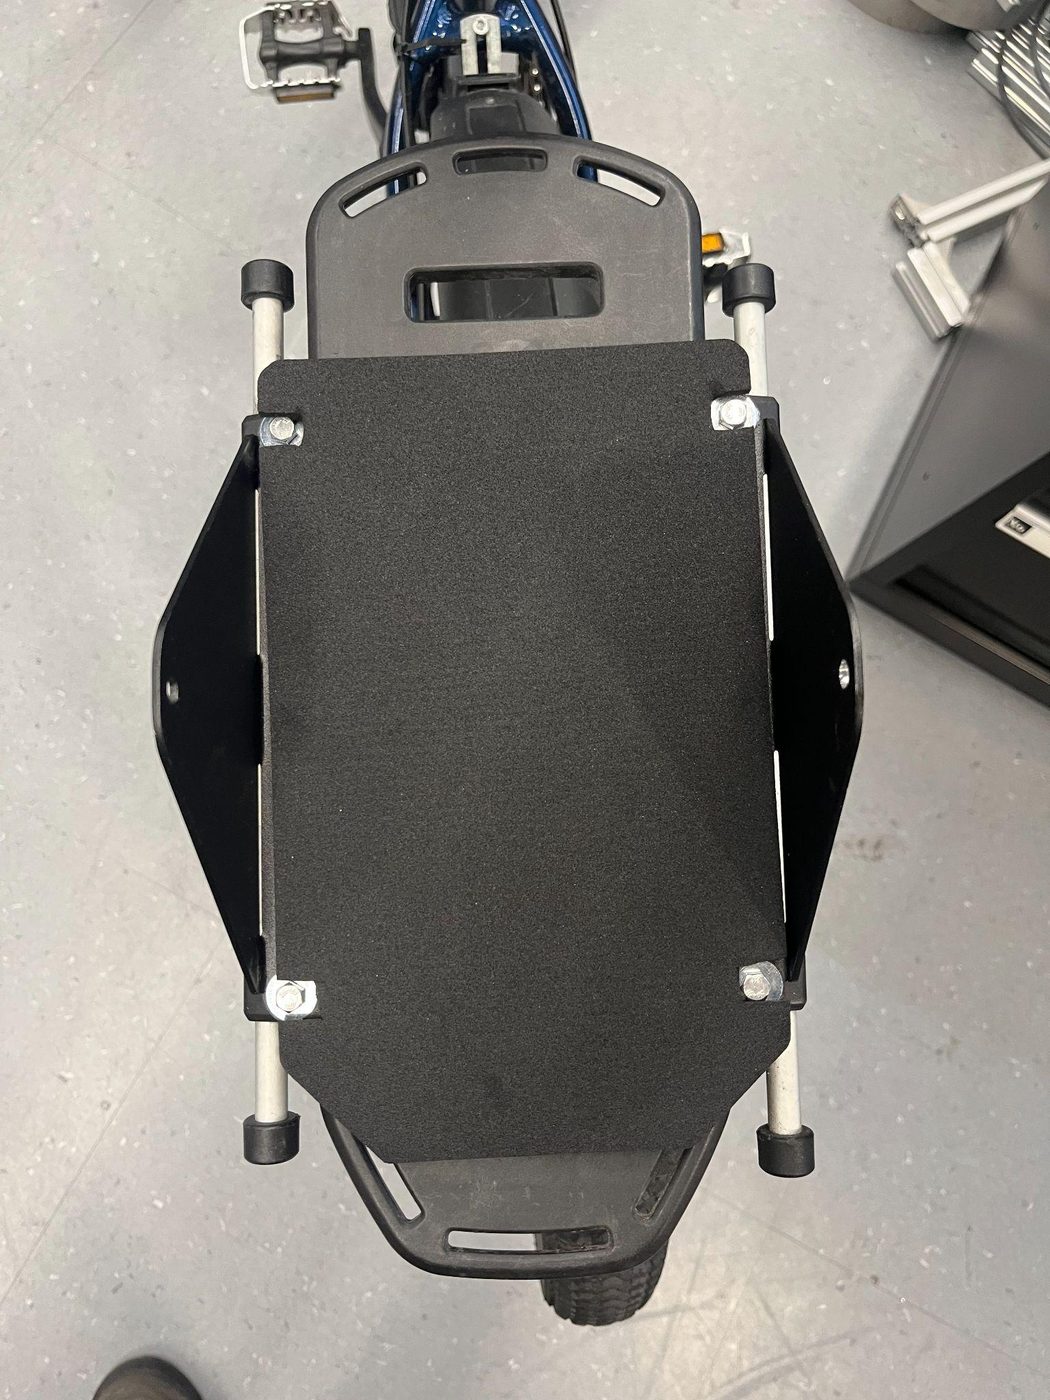
Place the foam pad onto the mount, ensuring it is aligned with the bolts. Place the box into the mount — it is usually easier to slide it in from the rear. Try to line up the holes between the box and the mount.
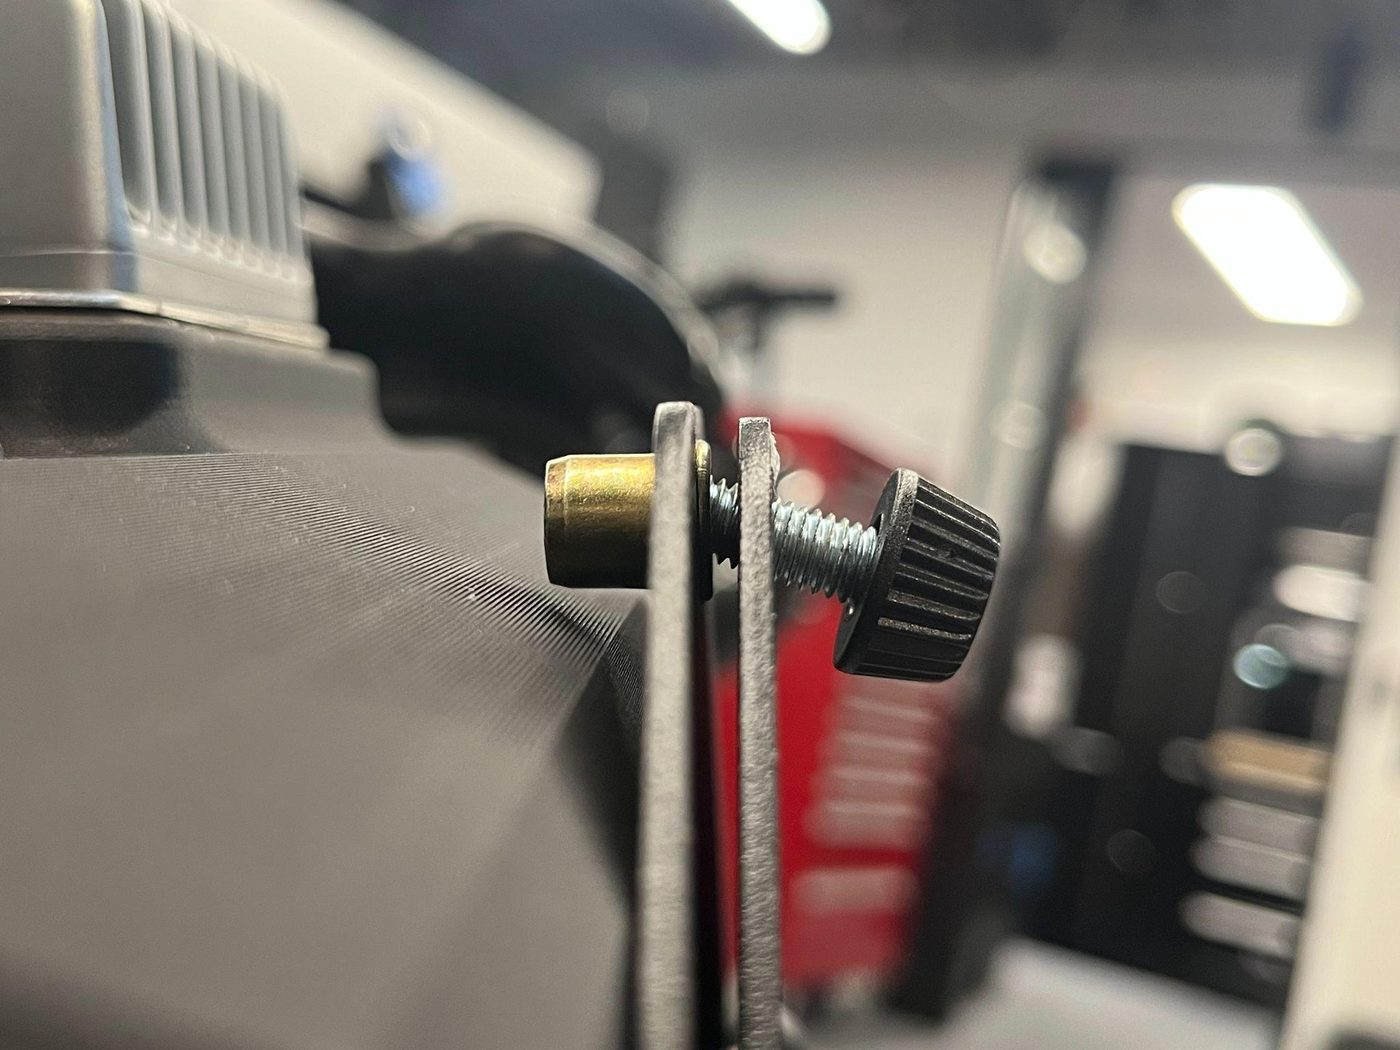
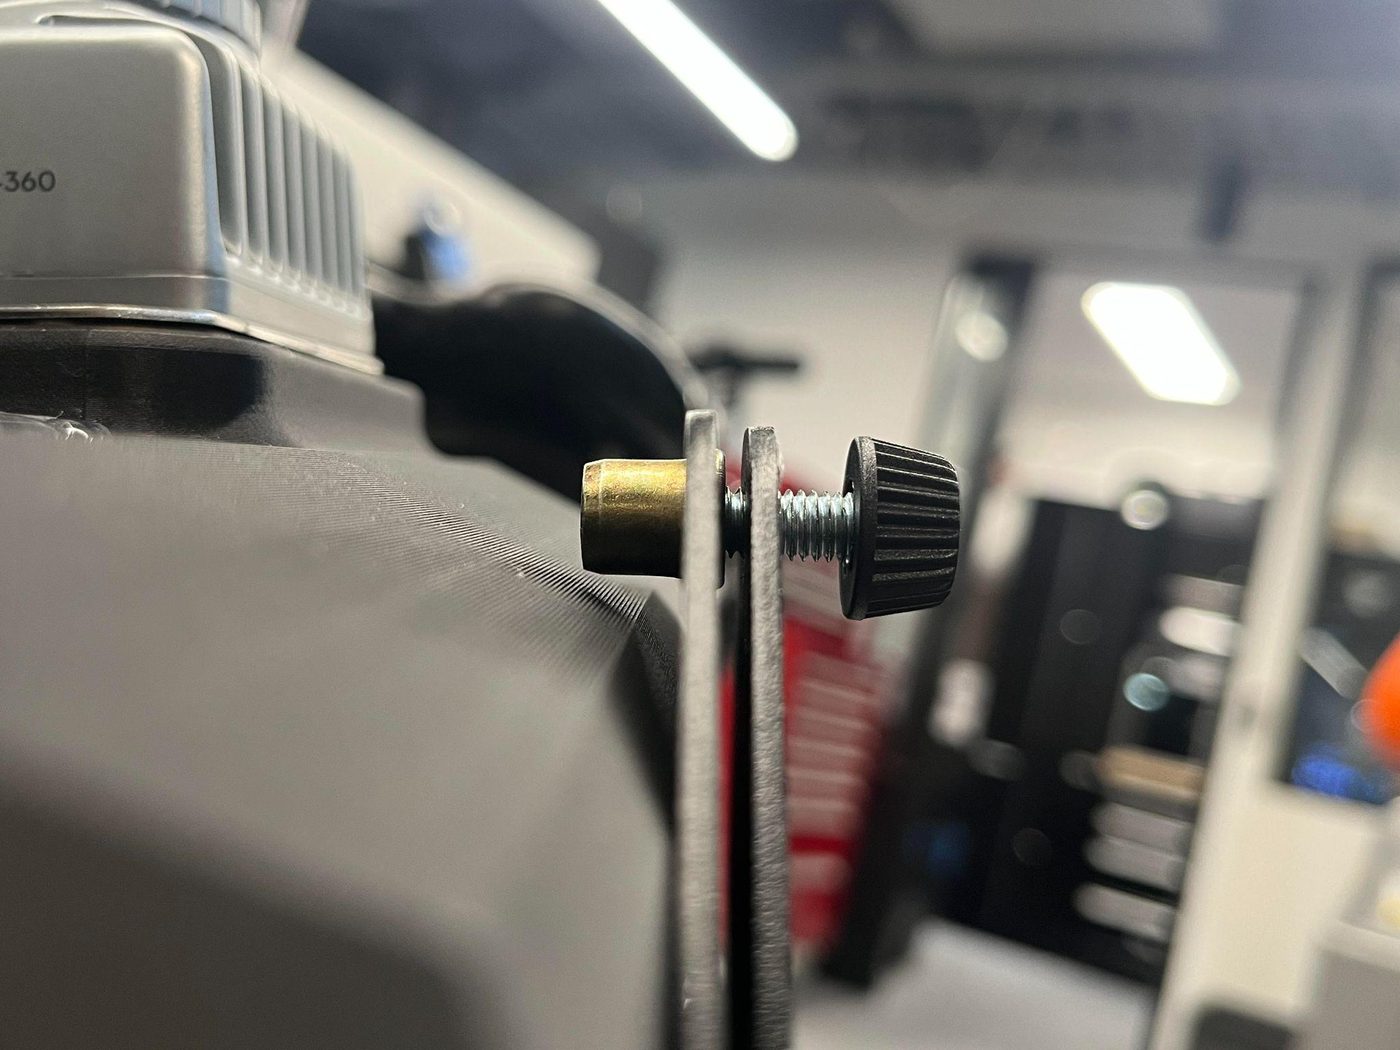
Line the provided thumbscrews up with the hole, ensuring they are straight. Be careful not to cross thread the thumbscrews — however sometimes the mounting holes can be slightly off due to the foam pad and need some force applied to the top of the box to line it up.
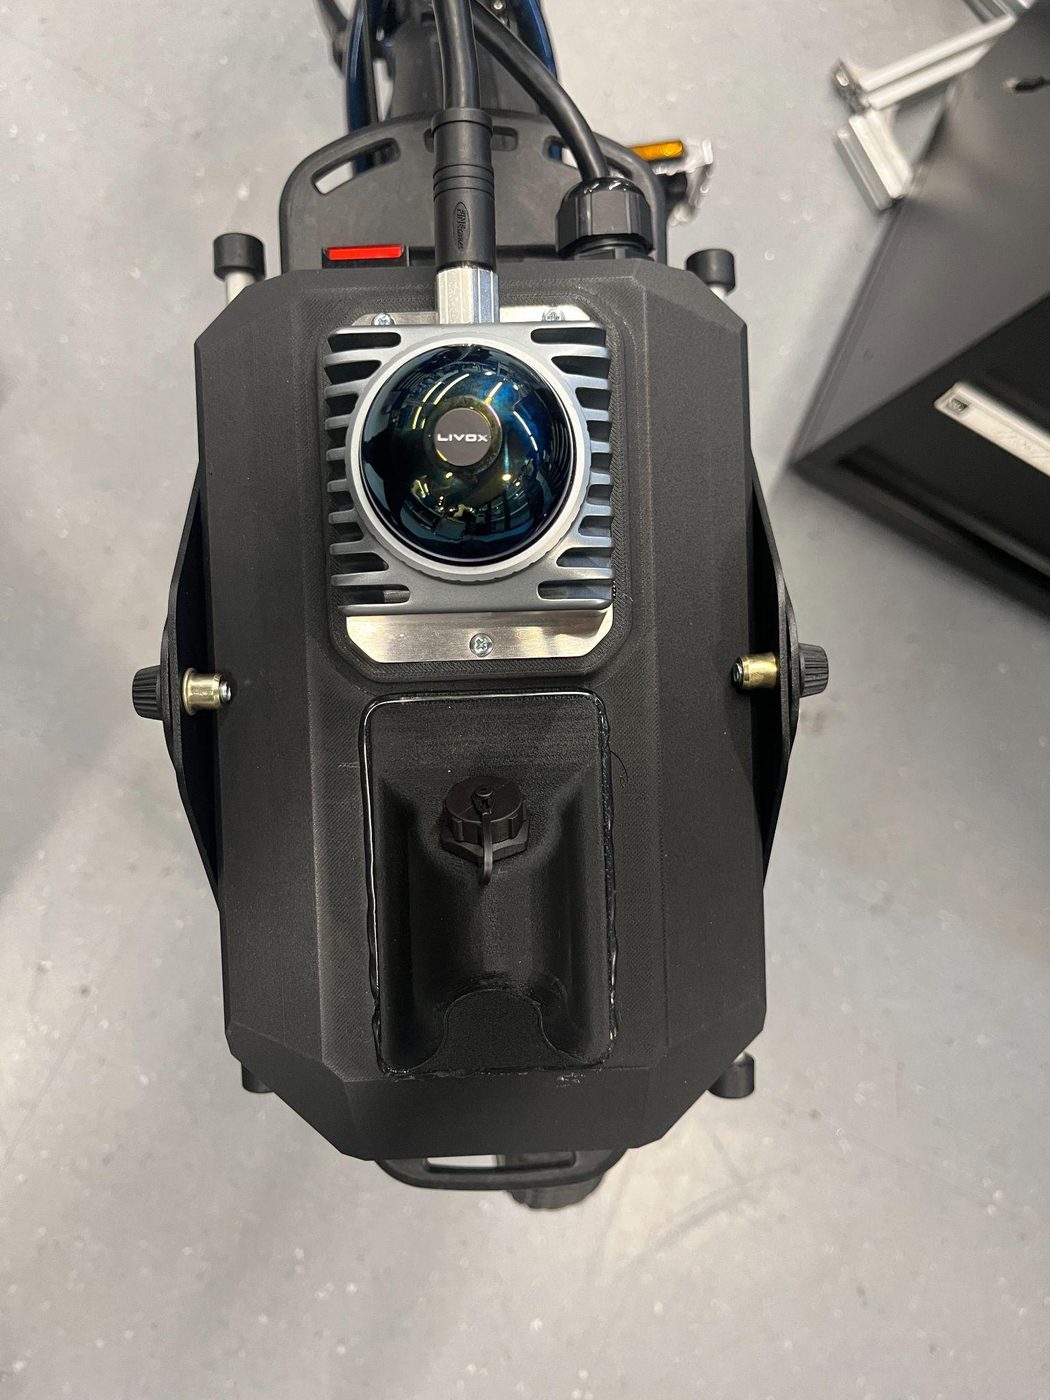
Tighten the thumbscrews until everything is flush. Please check they are tight whenever you use the box, as they can come loose.