Rider Operation
Charging the box
Due to the USB extension used for the weatherproof port, a laptop-grade USB‑C charger should be used to charge the box. This means 65–100W — the box uses a laptop-grade battery bank for power, so it can charge quite quickly.
If you observe the battery percentage indicator flash a few times and then turn off, this means the charger is not powerful enough. Try again with a more powerful charger.
Unscrew the cap on top of the box to reveal a USB‑C port.
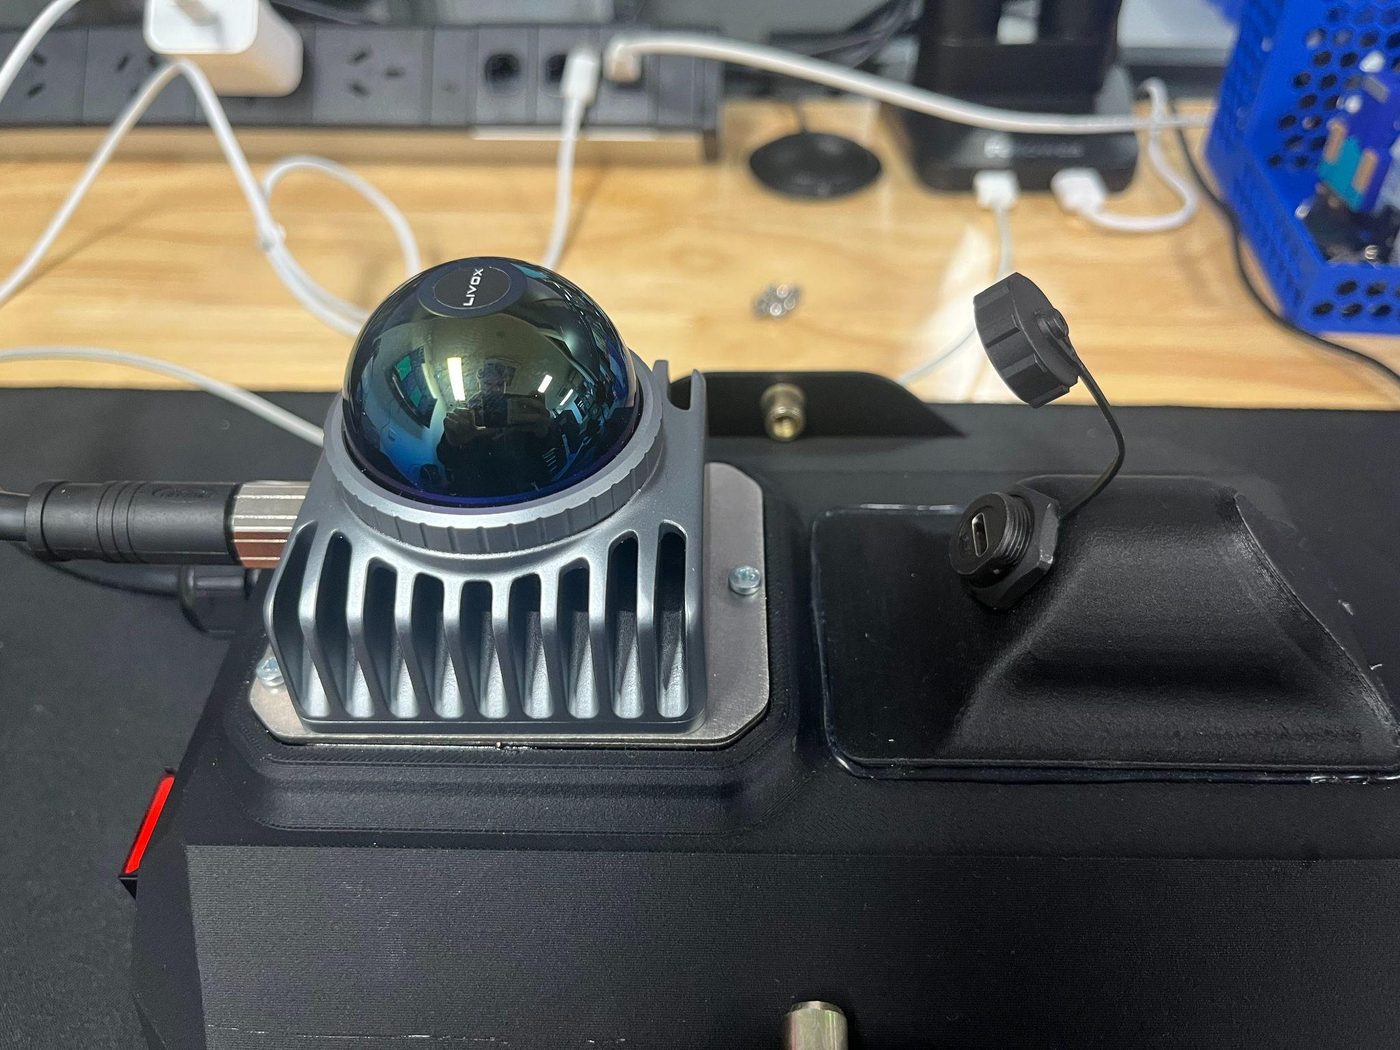
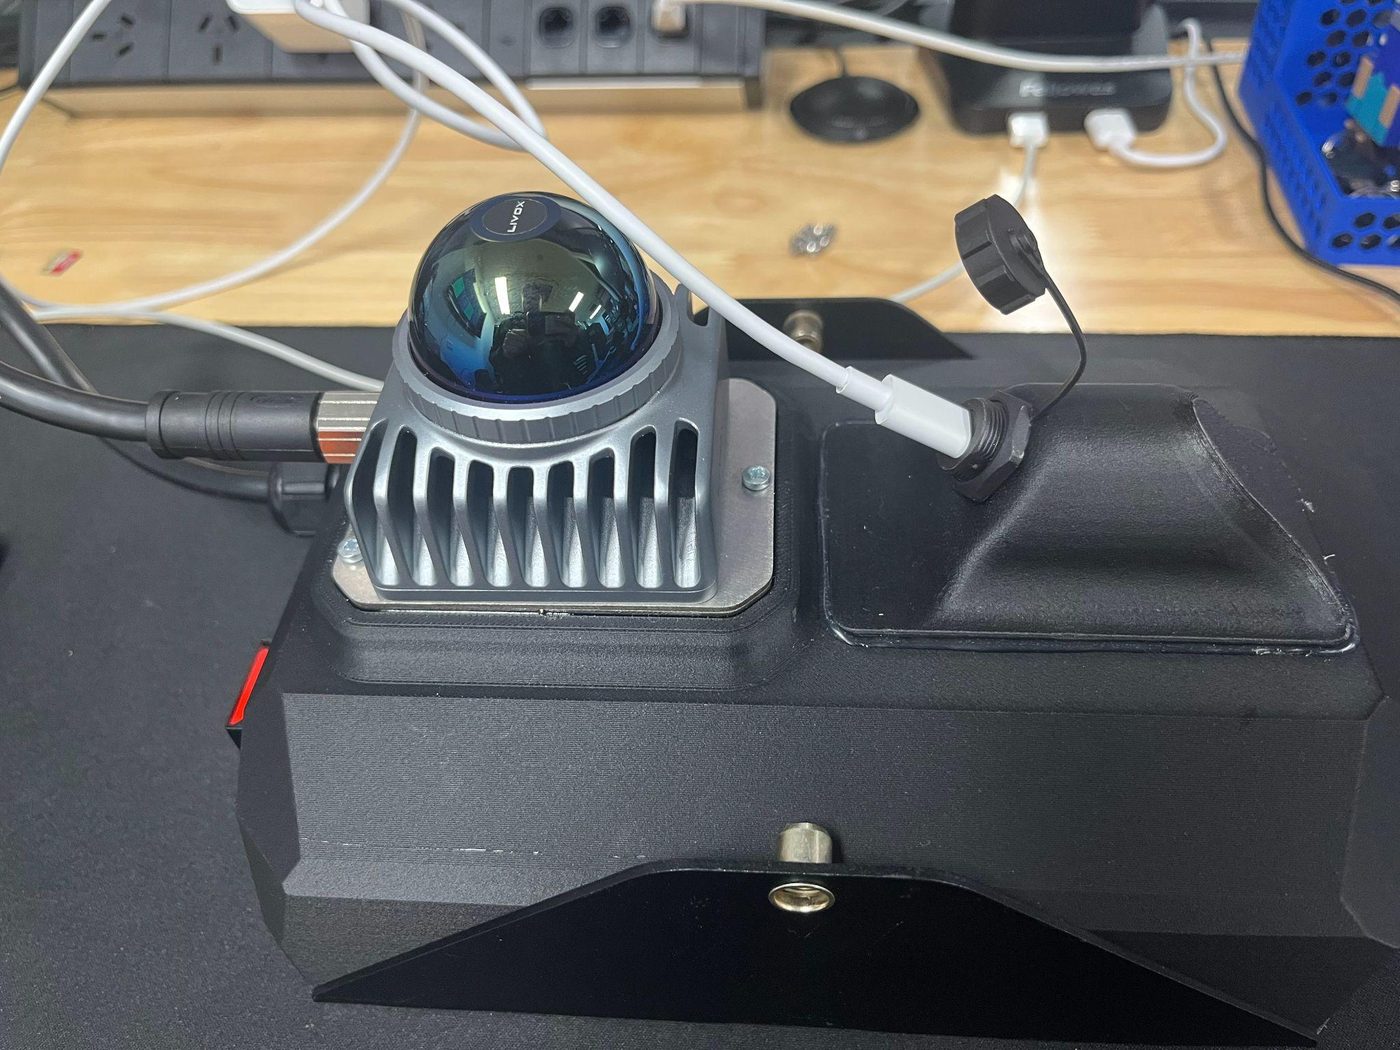
Plug in a USB‑C charger — it should work with all types, however fast charging is supported, so a better charger (e.g. a laptop charger) will make it charge faster.
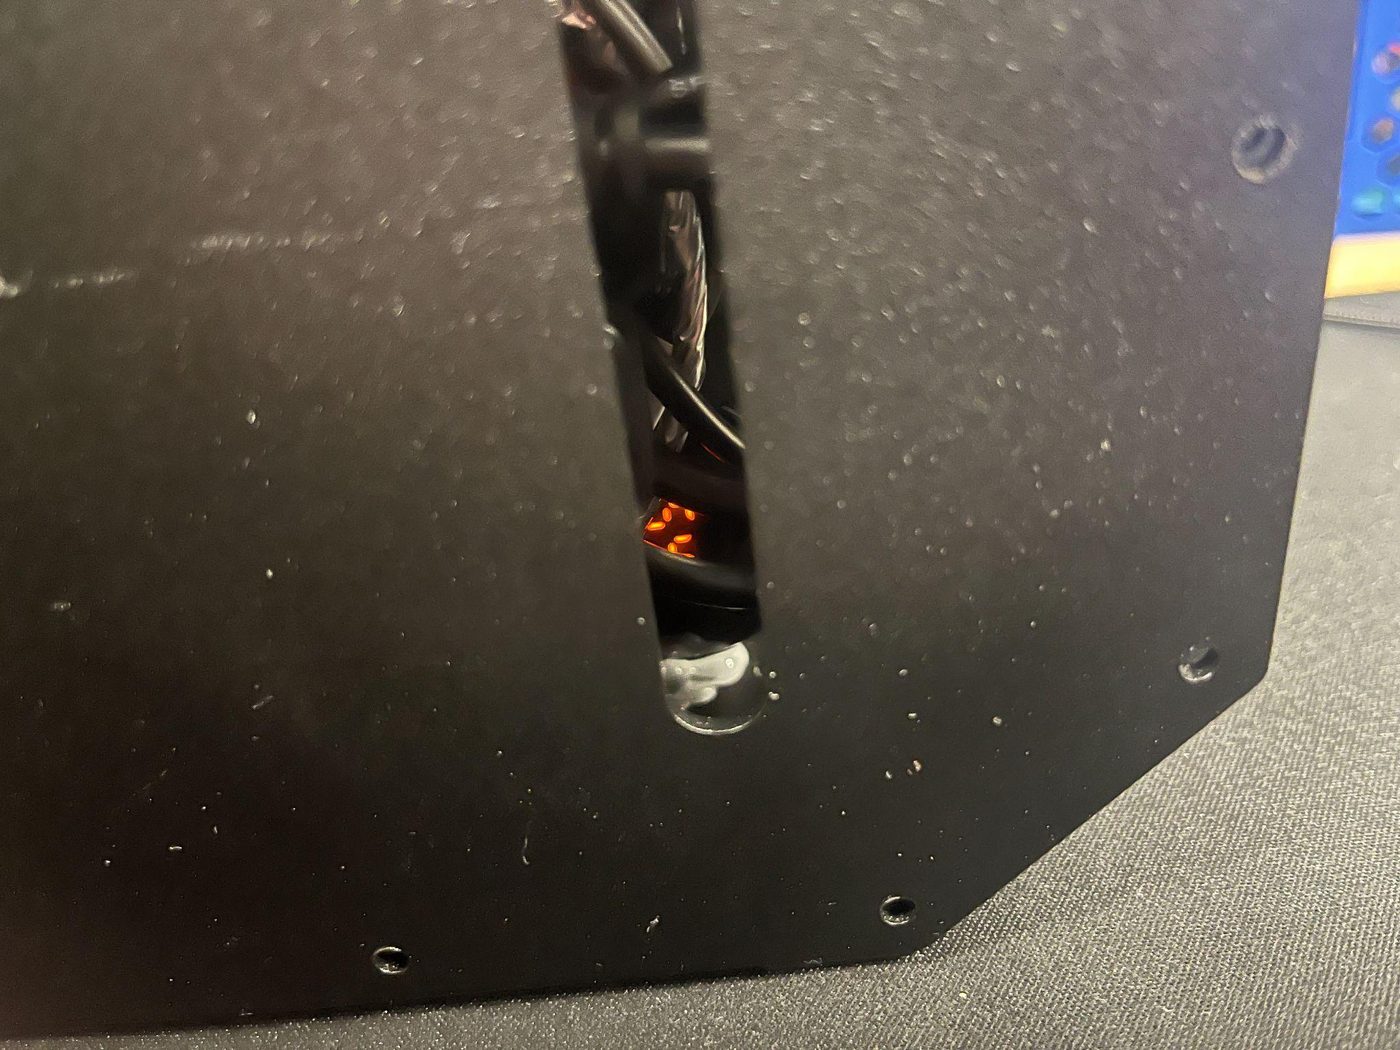
You can check if it is charging by looking through the window in the box's base — you should see the battery percentage flash constantly when charging (see the note above about low-power chargers).
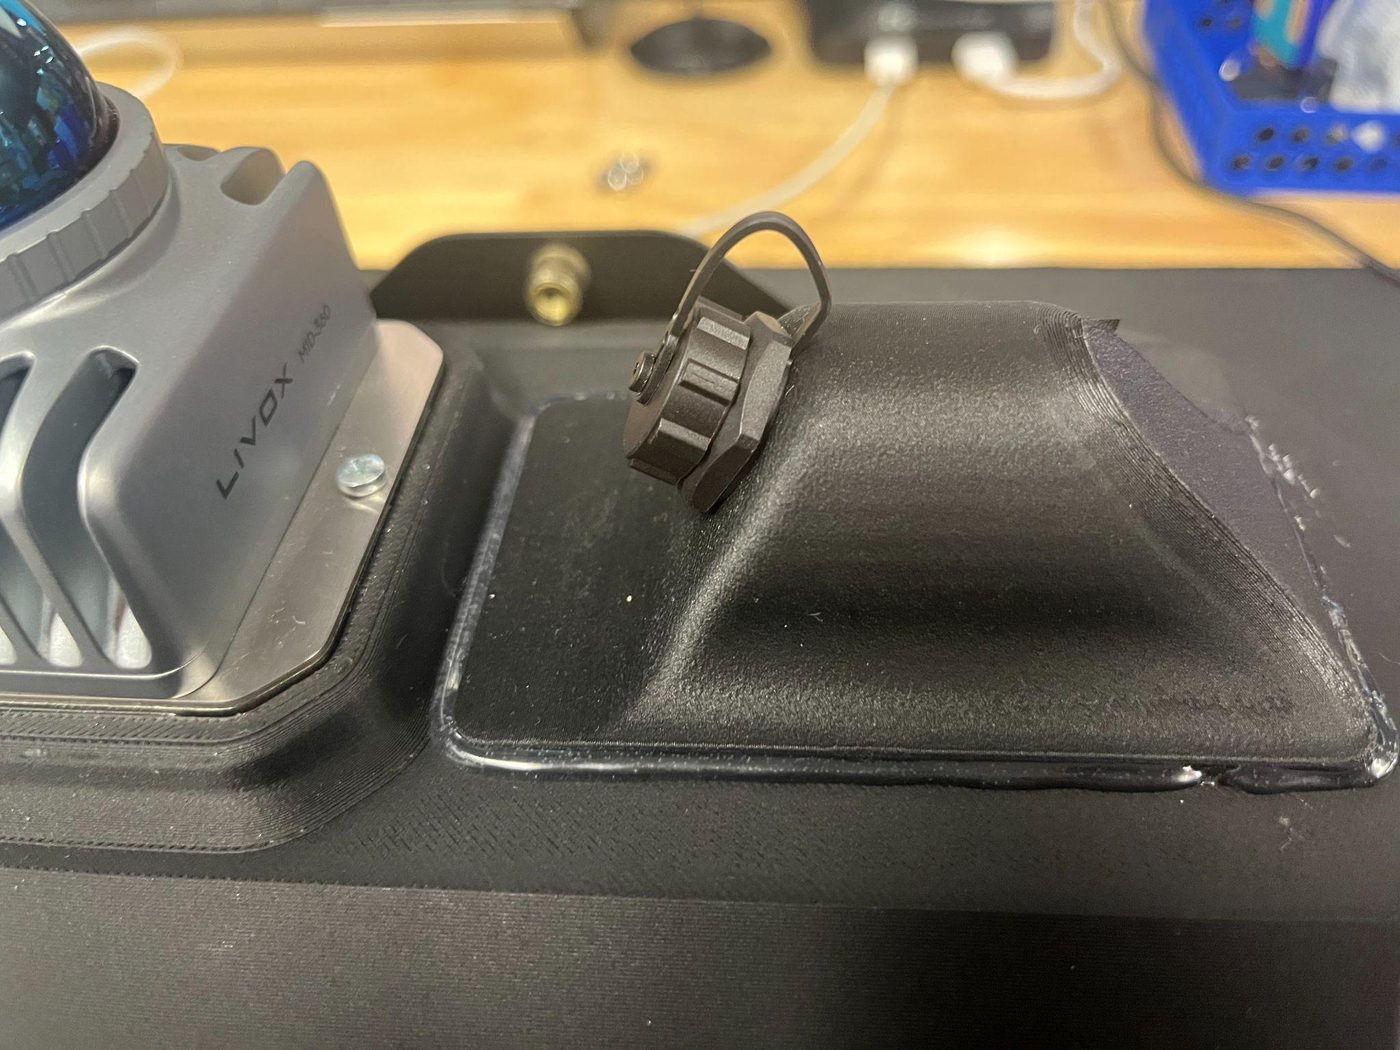
When finished, disconnect the cable and screw the cap back on. Ensure the cap is flush and not on an angle or cross threaded — you can make sure it screws on correctly by rotating it slightly counter-clockwise until you feel it line up with the thread.
Phone to Box Wi-Fi connection
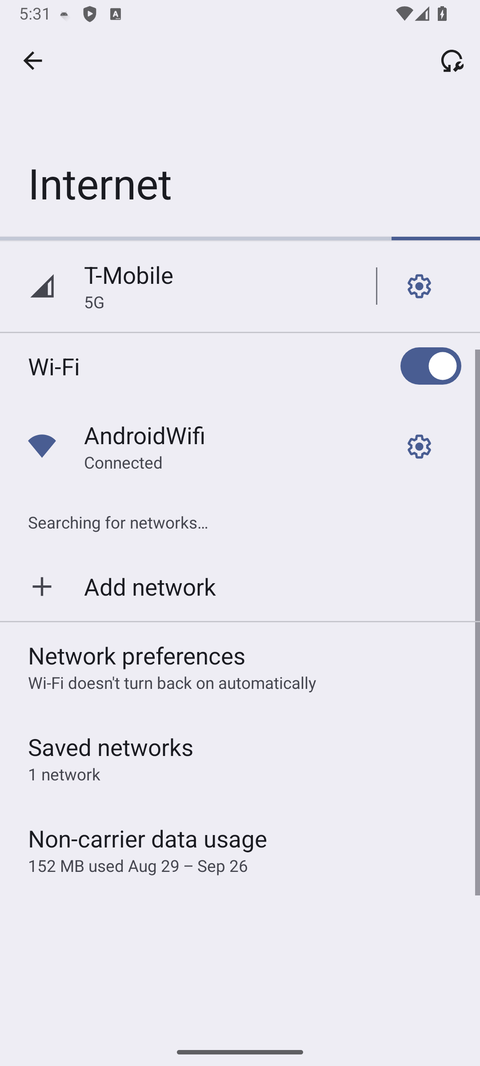
To connect the phone to the box's Wi-Fi connection, drag down from the top of the screen and tap on the internet button.
Android's own Wi-Fi settings screen (Settings → Internet), for reference:
This is a genuine screenshot from a real Android system, not a
drawing — captured from an emulator running the actual app, since no
physical phone was available when this page was written. The one
thing it can't show honestly: the emulator has no real
bikebox_hotspot_<N> network in range, so the list
below shows whatever network the emulator itself could actually
reach. In the field this same screen lists the box's hotspot the
same way it lists any other network here.
You should see a list of Wi-Fi network options including
bikebox_hotspot — connect to this one using the password
datarecord.
The Wi-Fi network name can be changed from the network settings in the
web controller — this may be set to something like
bikebox_hotspot_1 or bikebox_hotspot_3 to
tell boxes apart. Phones/upload devices will have connectivity issues
to the hotspot if multiple boxes are turned on with the same Wi-Fi
name, hence the numbers.
If you see the hotspot show up with "backup", e.g.
bikebox_hotspot_1 backup, this means the internal Wi-Fi
adapter has failed to come up as normal and there may be
connectivity issues (no internet sharing in this mode). Try
restarting the box; if this doesn't resolve it, see
Troubleshooting & Diagnosis or
contact whoever administers the fleet.
Once you have connected it should say something like "Connected to device. Can't provide internet." This is normal — the box doesn't have access to the wider internet unless it's separately been given an uplink (see Data Uploading).
Starting data collection — bike
Press the red button on the back of the box to begin recording. After a few seconds you should hear a whirring from the LiDAR on top of the box. The red button should glow when the box is on.
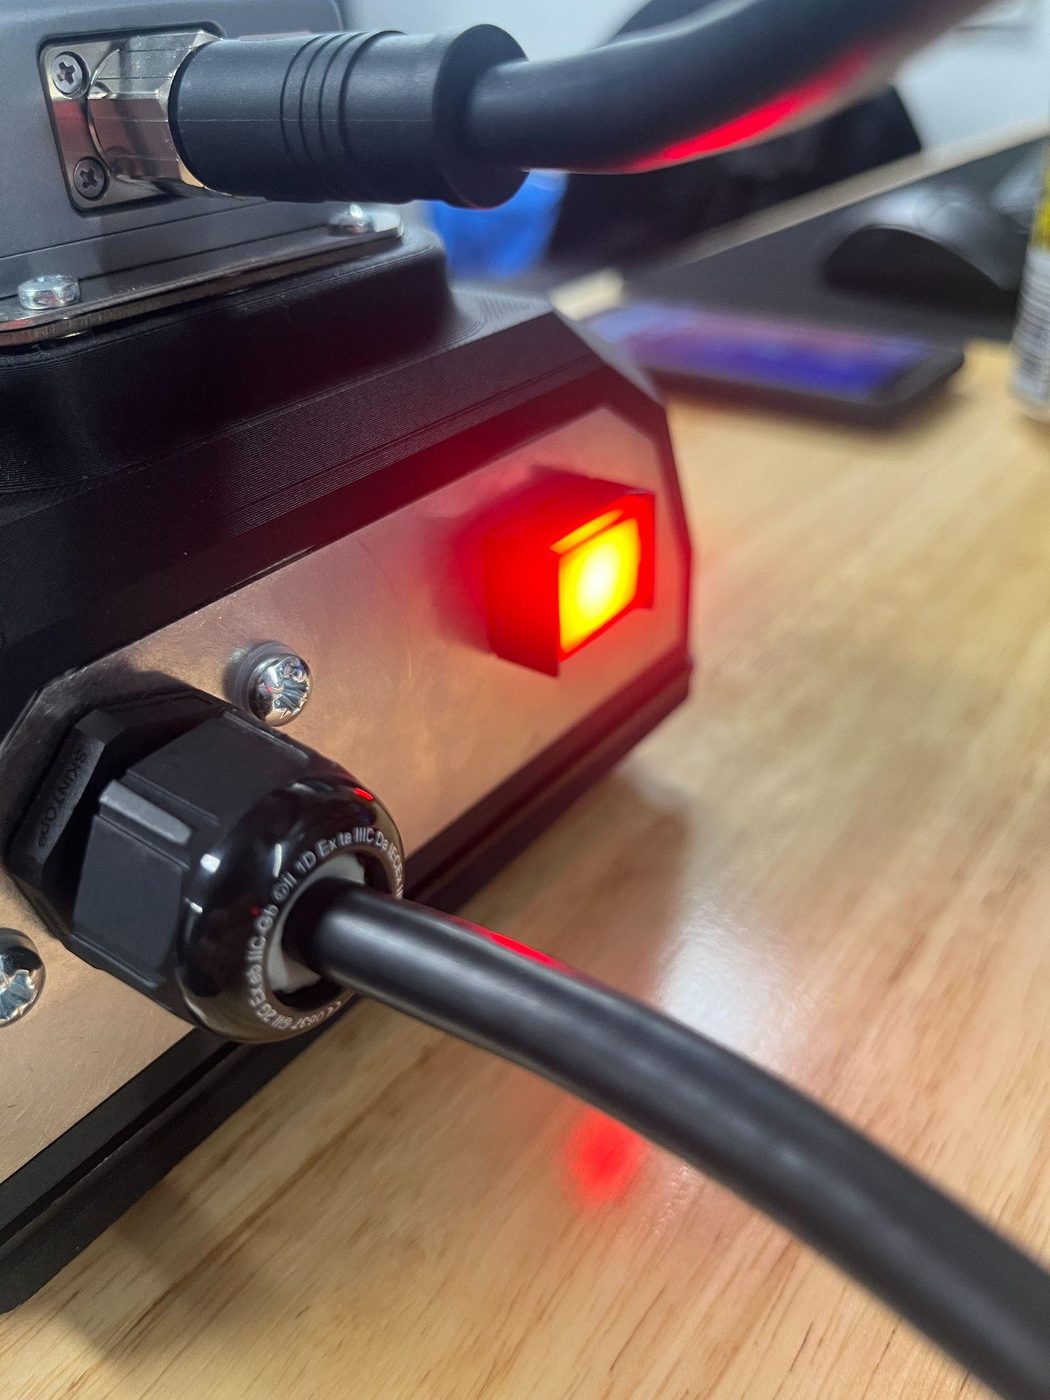
The box records data whenever it is turned on, regardless of whether the phone is connected.
Starting data collection — phone
To start the phone recording data, ensure the phone is connected to the box's Wi-Fi network (see above).
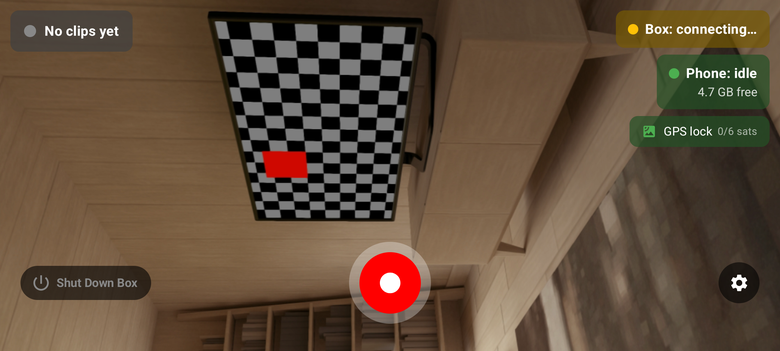
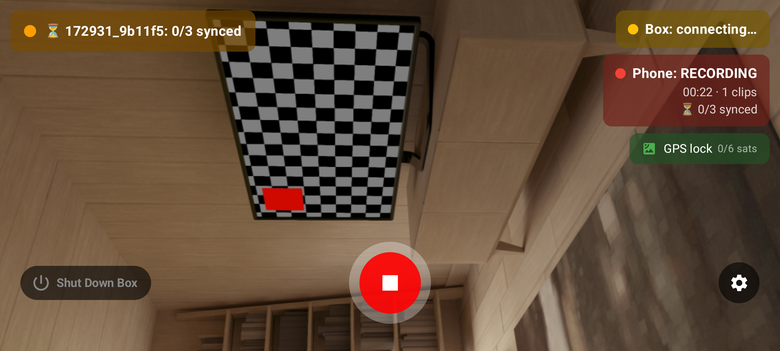
Open the app on the phone, tap Connect to Box, which links the phone to the software on the box to ensure the data is synced. If you are also recording footage from the phone camera, tap the record button to start and stop.
Screenshots below are from the real app running on an emulator (no physical phone was available), not a drawing — the box shows as disconnected only because no real box was in range of the test environment. The original instructions here referenced an app named "vancouver333"; that's no longer accurate and has been left out rather than repeated.
Ready to record:
While recording:
Clearing sessions on the phone
The phone keeps every recorded session (its own clips, independent of the box) until you clear it. To find and clear them: tap the settings gear on the home screen, then under Sessions tap View.
Each session in the list shows its date, clip count and total size, resolution/fps, and its sync status. Tap the trash icon on a session to delete it.
This permanently deletes every clip in that session from the phone — it cannot be undone. Make sure the session shows as synced (see Data Uploading) before clearing it, the same way you'd check a box session is uploaded before deleting it there.
Everything else on the Settings screen (video quality, network sync host/port, the phone's own upload service) is technical configuration, not something you need for normal riding — see the backend docs if you need it.
If a file has corrupted
Since the box starts recording on startup and stops when power is turned off, sometimes files can corrupt. This can sometimes be flagged during an upload — you can usually find the problem files by uploading the data in smaller sections to narrow down the issue. Usually it is at the start/end of the data.
At the end of a ride
- Stop the phone from recording. Please wait 10 seconds before turning off the box so that it can save the phone's data.
- Make sure the box is turned off by pressing the big red button. It should stop glowing to confirm the bike box is no longer turned on.
- Turn off the phone to conserve battery life.
- If you're done for the day, put both the phone and battery box on charge.
See Data Uploading for how to get the ride's data off the box.